Azir Emperor of the Sands Deck Guide – Riftbound TCG


Heya everyone! Azir, Emperor of the Sands is one of the newest Spiritforged Riftbound Legends, introducing a fresh playstyle built around equipment and Sand Soldiers. The deck’s core strategy revolves around developing Sand Soldiers and powering them up with equipment, turning what starts as a small board into a serious threat that forces your opponent to spend resources to deal with it.
We’ve already seen Azir, Emperor of the Sands popping up in Chinese locals and City Challenge events, but things really took off when a player piloted the Calm Order Azir deck all the way to the finals of the Nanjing Regionals. That run proved the deck is no gimmick and absolutely has legs in competitive play.
Today, we’ll break down the Nanjing Regional Azir list, how the deck functions, the key card synergies, and the overall game plan. Let’s get into it!
Legend
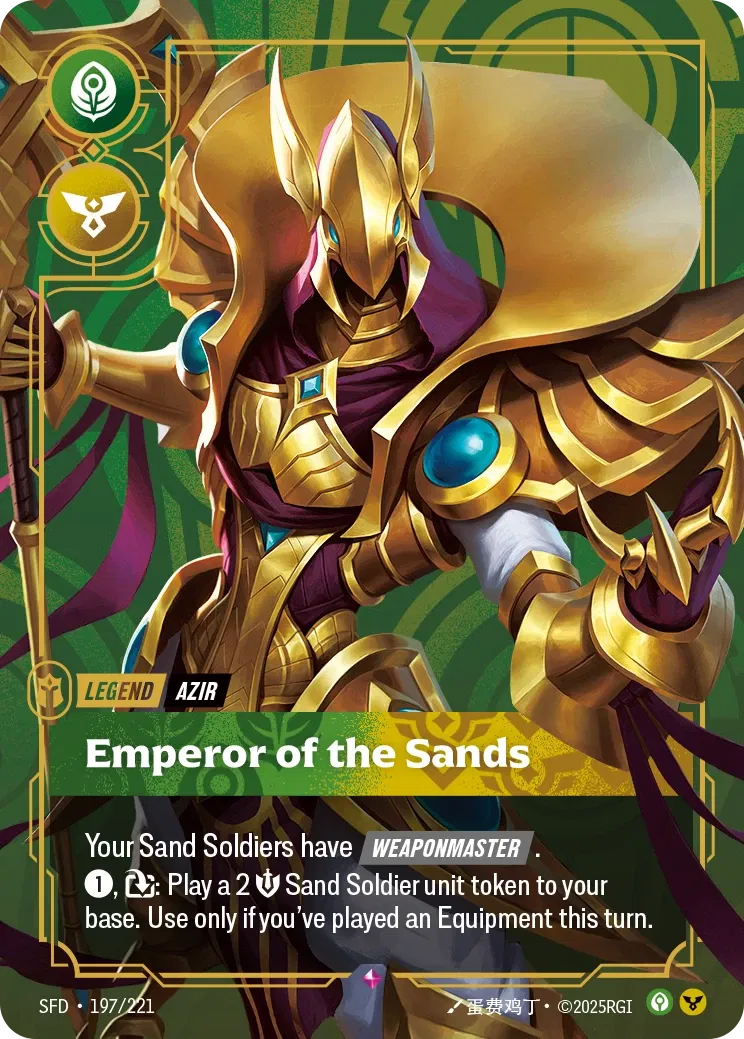
For 1 Energy, you can tap Azir, Emperor of the Sands to play a 2 Might Sand Soldier in base. There is a condition to activate this ability: you must have played an Equipment this turn. Because of that, the deck needs a solid number of low-cost Equipment cards, allowing us to turn on Azir’s Legend ability as early as possible and start developing Sand Soldiers right away. We don’t want to play multiple equipment in one turn, as that will defeat the purpose of our Legend ability. In most cases, we’ll develop only 1 per turn, unless we need the additional Might from the equipment. Those Sand Soldiers will later become our primary attackers.
On top of that, Azir Emperor of the Sands grants all your Sand Soldiers the Weaponmaster keyword. This makes attaching Equipment significantly easier, since we get to bypass the Power cost. The result is a much stronger board presence without draining our Rune resources, helping us maintain pressure and stay strong heading into the late game.
Azir, Emperor of the Sands
1
0
 Calm Rune
6
0
Calm Rune
6
0
 Order Rune
6
0
Order Rune
6
0
 Trifarian War Camp
1
0
Trifarian War Camp
1
0
 Vilemaw's Lair
1
0
Vilemaw's Lair
1
0
 Ornn's Forge
1
0
Ornn's Forge
1
0
 Azir, Sovereign
1
4
Azir, Sovereign
1
4
 Charm
2
Charm
2
 1
1
 Defy
2
1
Defy
2
1
 Doran's Shield
3
1
Doran's Shield
3
1
 Eye of the Herald
3
1
Eye of the Herald
3
1
 Brutalizer
3
2
Brutalizer
3
2
 Cull the Weak
2
Cull the Weak
2
 2
2
 Deathgrip
2
2
Deathgrip
2
2
 Desert's Call
3
2
Desert's Call
3
2
 Discipline
3
2
Discipline
3
2
 Guardian Angel
1
2
Guardian Angel
1
2
 Hidden Blade
3
2
Hidden Blade
3
2
 Not So Fast
1
2
Not So Fast
1
2
 Sacred Shears
2
2
Sacred Shears
2
2
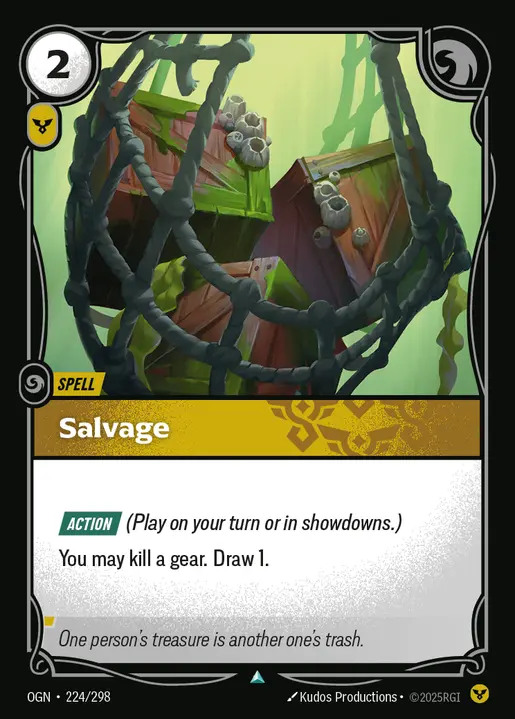 Salvage
1
2
Salvage
1
2
 Guards!
2
3
Guards!
2
3
 B.F. Sword
3
4
B.F. Sword
3
4
 Arise!
3
Arise!
3
 6
6
 Wind Wall
2
3
Wind Wall
2
3
 Facebreaker
2
2
Salvage
2
2
Defy
1
1
Cull the Weak
1
2
Facebreaker
2
2
Salvage
2
2
Defy
1
1
Cull the Weak
1
2
How to Play
Champion
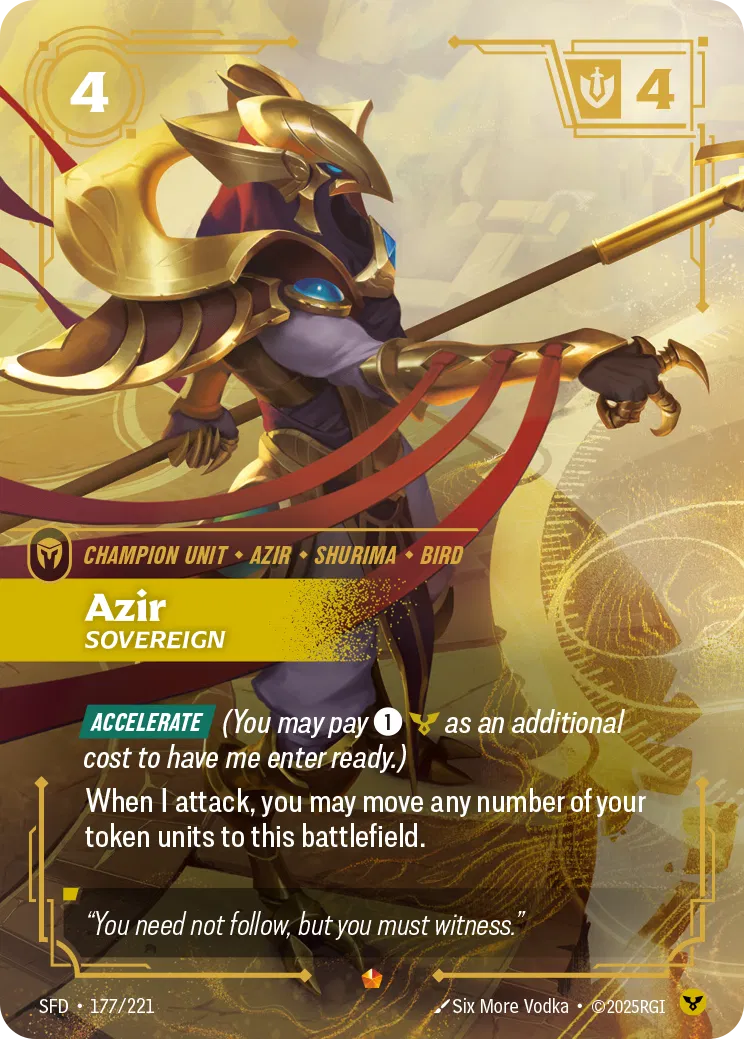
Azir Sovereign is a 4-cost, 4 Might unit with Accelerate. By paying an additional 1 Energy and an Order Rune, you can play him and attack immediately. This makes him an excellent tool for winning battlefields, removing enemy units, and pushing through points.
When Azir Sovereign declares an attack, he allows you to move any number of your token units to the battlefield he’s attacking. In practice, this means your Sand Soldiers can move alongside your Champion to back him up and conquer the battlefield. The best part is that those Sand Soldiers don’t need to be Ready — even exhausted Sand Soldiers can still join the attack. This makes Azir Sovereign perfect for setting up explosive turns where you suddenly flood a battlefield with attackers. You can even pull Sand Soldiers from other battlefields, choosing exactly how many to bring based on the game state.
Battlefields
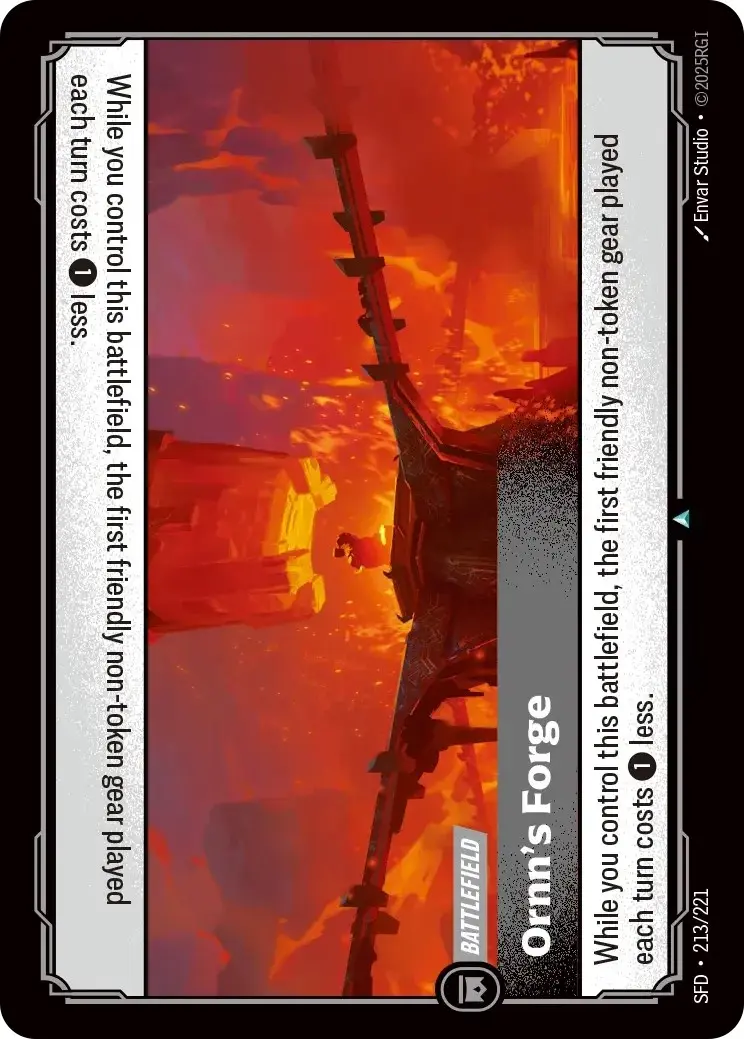
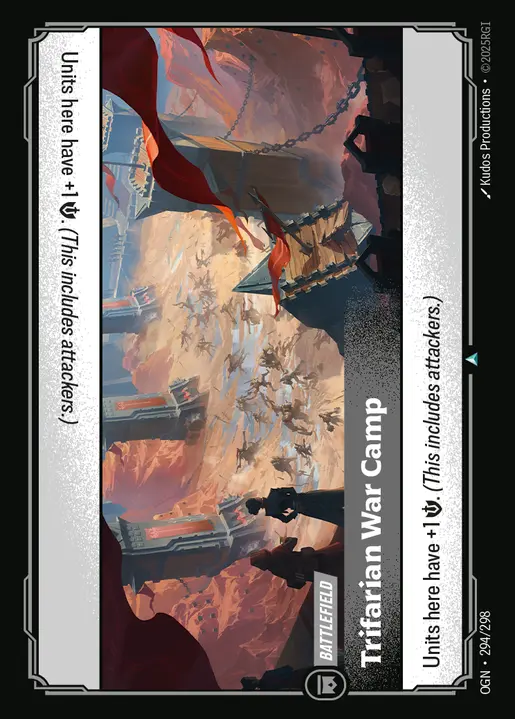
When you control Ornn’s Forge, your first Equipment each turn costs 1 less Energy. This makes it much easier to develop your Equipment, consistently activate your Legend ability, and still have Energy left over for other plays. Ideally, we’ll go with Ornn’s Forge on game 1 when we’re going blind.
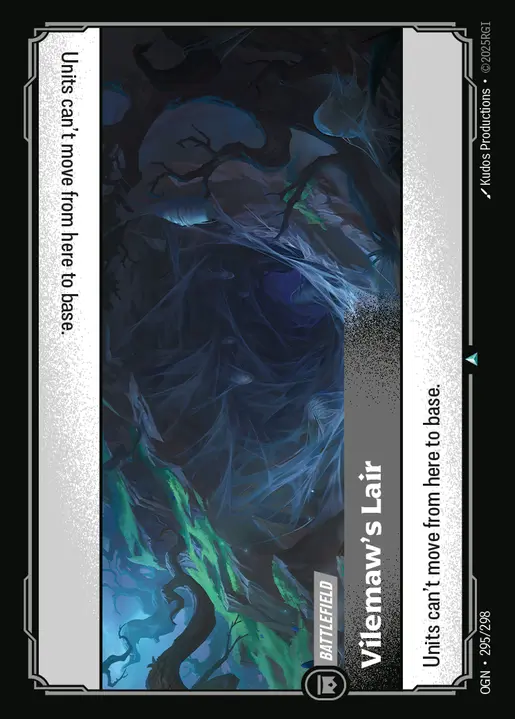
Vilemaw’s Lair prevents units from moving back to base. Most of the time, this is used to lock units onto a battlefield, denying them the safety of retreating. It also shuts down effects like Fight or Flight, which can otherwise slow down your aggression.
Trifarian War Camp gives each unit there +1 Might, meaning the more units you stack on it, the harder it becomes for your opponent to take back control. As a bonus, the extra Might also makes your units much more resilient to damage-based removal spells.
Weapons
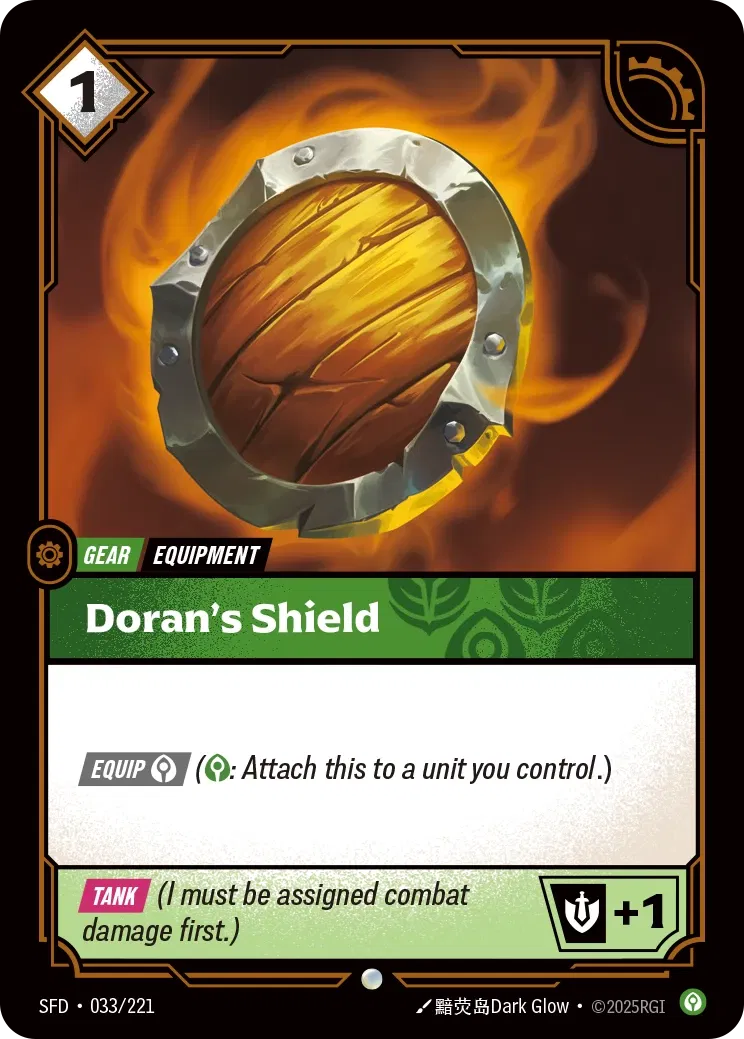
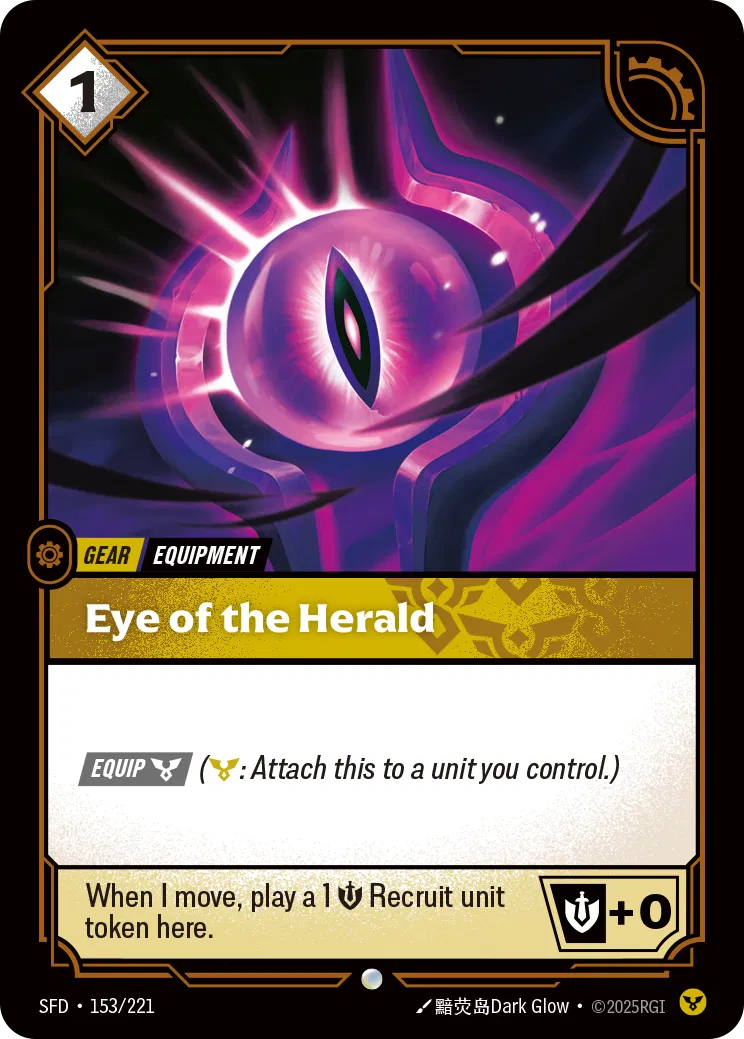
Doran’s Shield and Eye of the Herald are 1-cost Equipment, perfect for the early game if we’re going first. We can play then, activate Legend ability, and have a Sand Soldier on the base. Doran’s Shield gives +1 Might and the Tank keyword to your unit, which can come in handy if you’re trying to protect a key unit like Azir Sovereign at a battlefield.
As for Eye of the Herald, when the unit it’s attached to moves, you can play a 1 Might recruit. That Recruit can help us push for a stronger attack, especially if we have Trifarian War Camp. It can also be used as a sacrifice target for Cull the Weak.
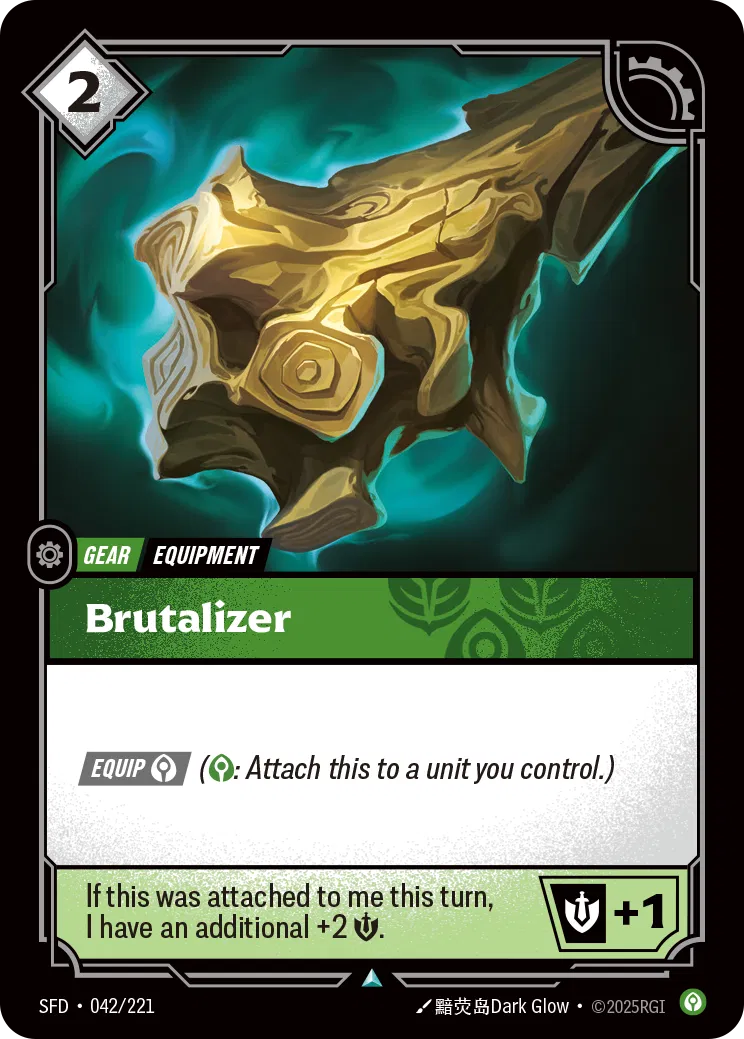
Brutalizer gives +1 Might and an additional 2 Might for the turn it’s attached. It usually thrives later in the game, as you can use that +2 Might to initiate a strong attack to win a battlefield, and if the unit ends up dying, you can attach it to another unit to make use of its +2 Might effect again, or you can use your Weaponmaster keyword to attach it to another Sand Soldier.
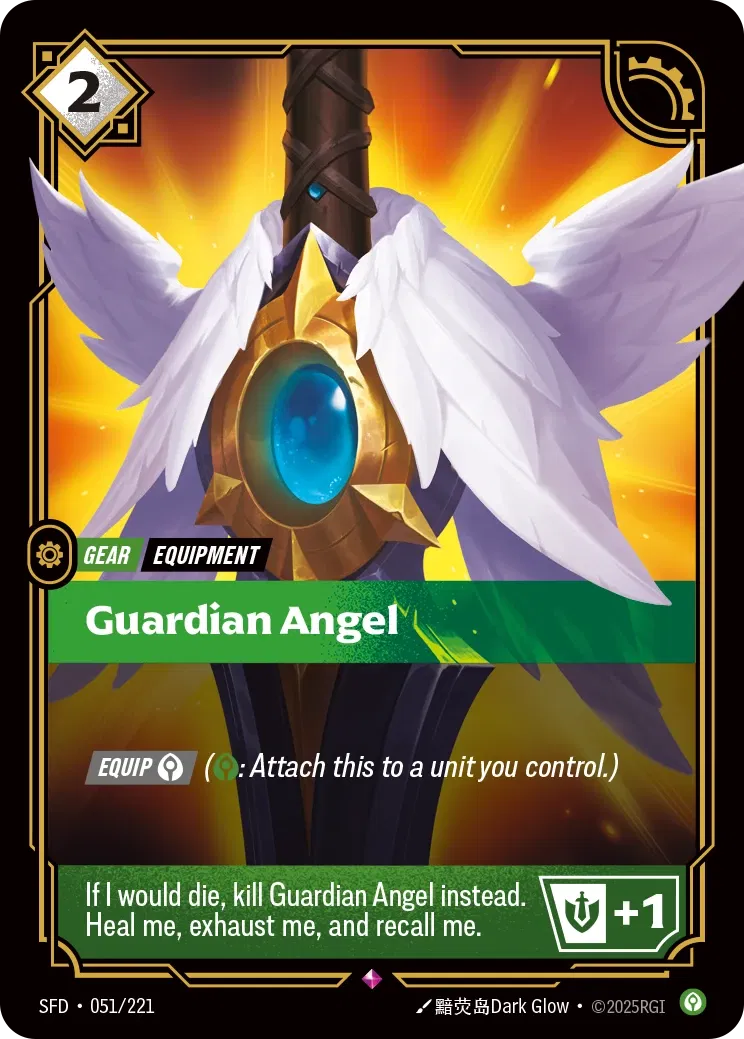
Guardian Angel gives +1 Might to your unit and protects it from getting killed. Usually, we’ll be using it for our champion to make sure the opposing player can’t easily kill him, but still, we might have to attach it to a Sand Soldier to prevent it from easily getting killed, especially if it has multiple other equipment attached to it.
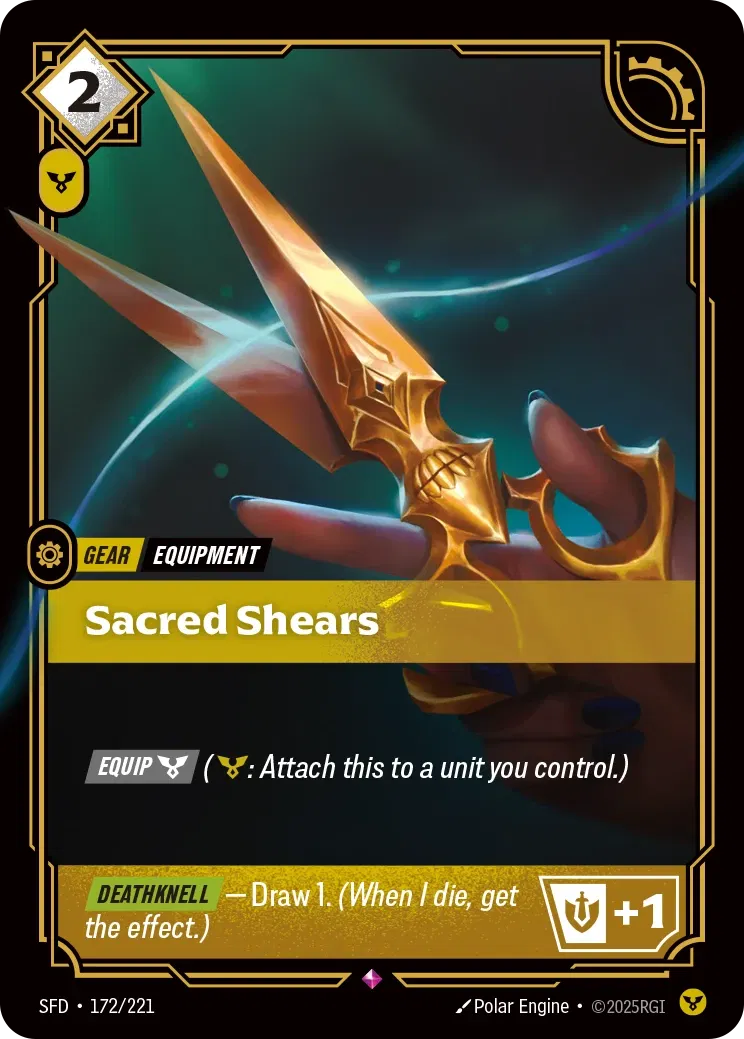
Sacred Shears is a bit expensive since we have to recycle an Order rune, but it’s mainly for the value engine, as if the unit it’s attached to is killed, you get to draw a card.
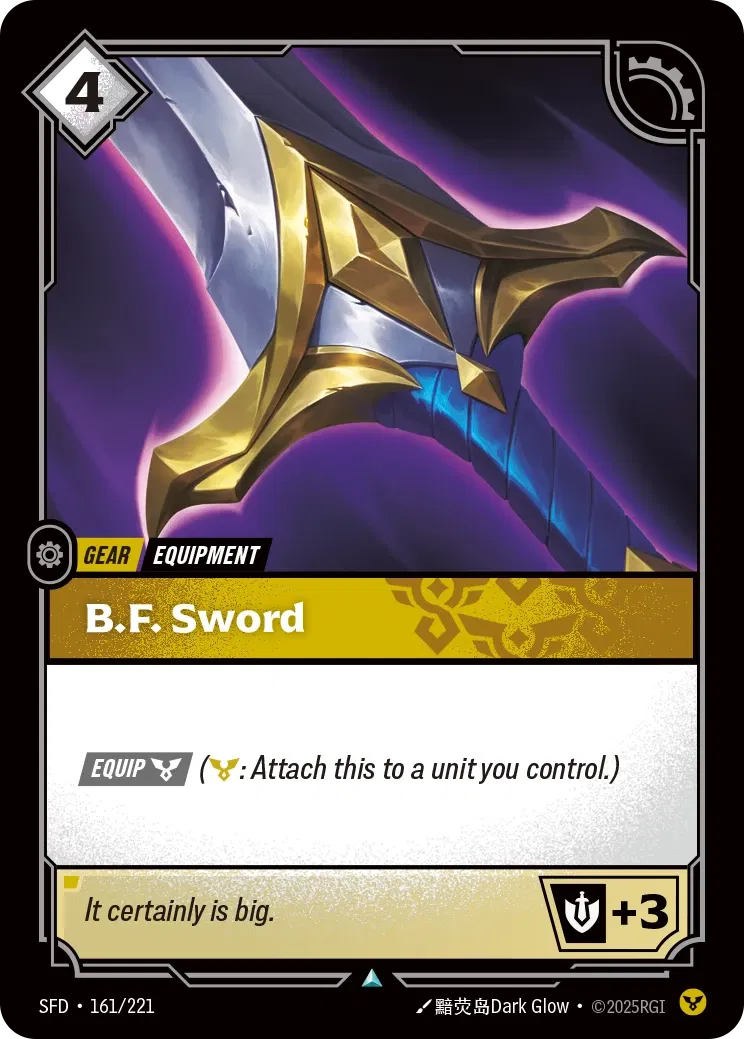
B.F. Sword is our strongest equipment, giving the unit it’s attached to +3 Might, turning your unit into a massive threat that can be tough for the opposing player to deal with. Since it costs 4 Energy to play, we’ll often have to wait until later in the game to make use of it.
More Sand Soldiers
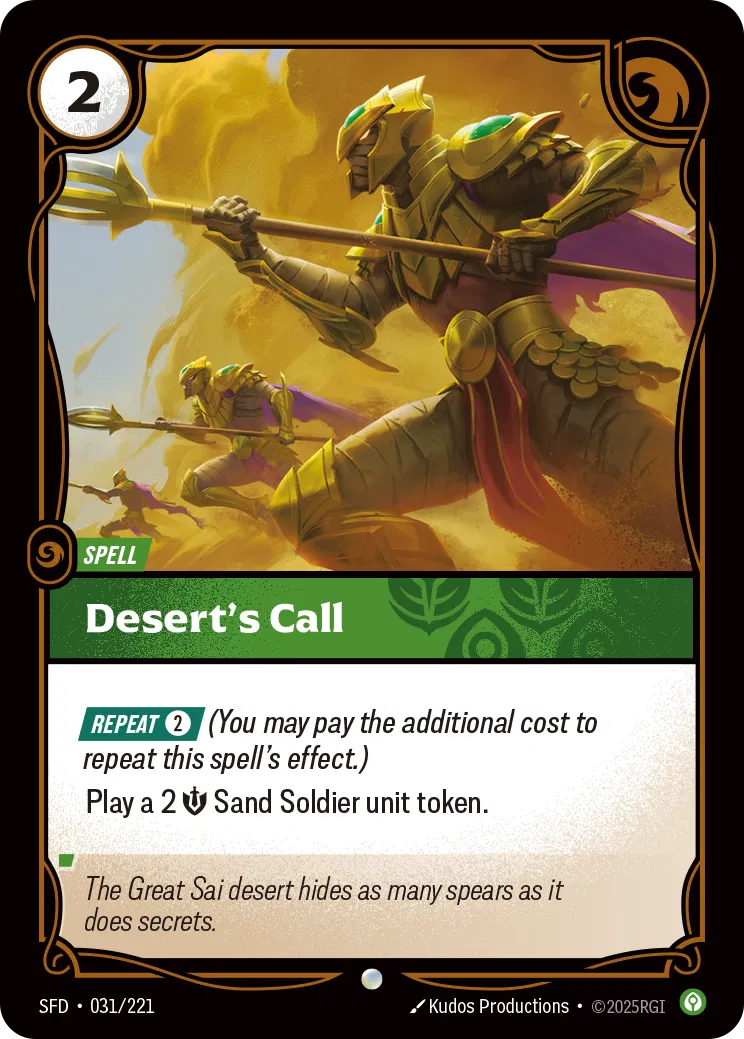
Desert’s Call lets us play a 2 Might Sand Soldier Sand Soldier, either on a battlefield we control or the base. It has the Repeat keyword, so paying an additional 2 Energy to play another Sand Soldier and plan a strong attack. We can use Desert’s Call to go wider with the Sand Soldiers that can immediately be equipped with a weapon thanks to the Weaponmaster keyword. They can be a setup for a Ready Azir Sovereign, waiting to start an attack.
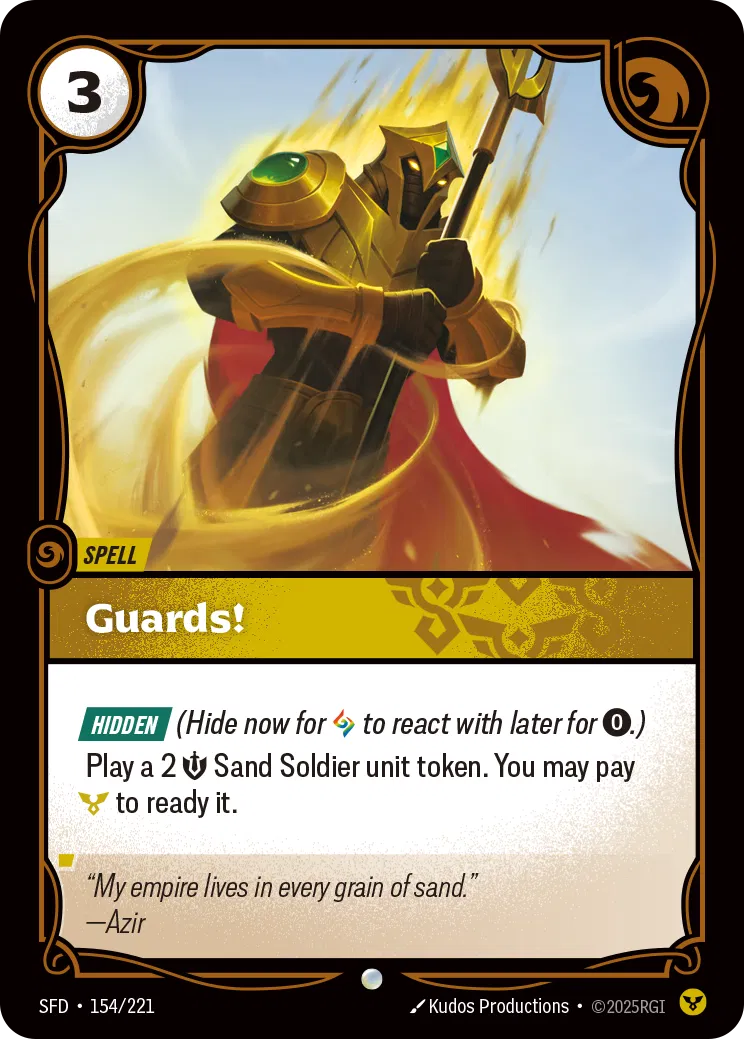
For 3 Energy, Guards! lets you play a 2 Might Sand Soldier, and if you recycle 1 Order Rune, you can Ready it. The ability to play a Ready Sand Soldier can be massive to pressure the opposing player, allowing us to go for an attack and potentially conquer a battlefield.
Guards! can also be played Hidden at a battlefield, letting us reveal it during the opponent’s turn to help us defend a battlefield. The Sand Soldier we play through Guards! can attach an equipment to itself, so weapons like Brutalizer or B.F. Sword are great at shifting the combat in our favor.
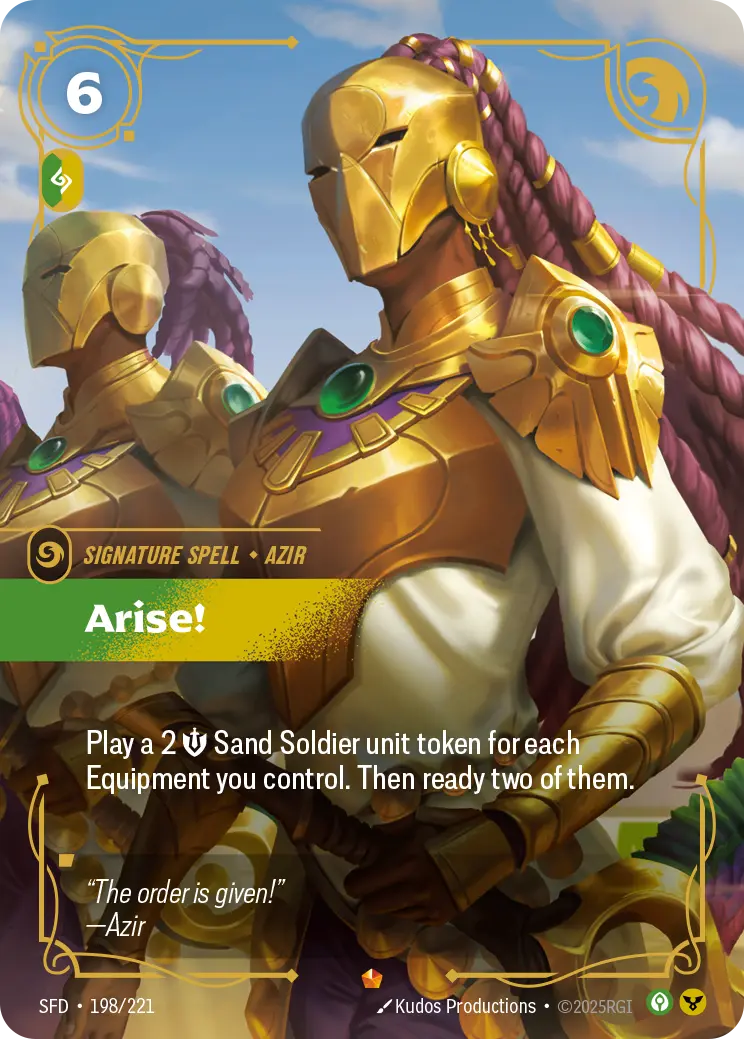
Arise! is our strongest spell in the deck, letting us play a Sand Soldier for each equipment you control, and then we get to Ready 2 of those Sand Soldiers. If we have 3 or more equipment in play, we’re already gaining a lot of value from Arise!, and those Sand Soldiers come in with Weaponmaster, capable of attaching equipment to themselves.
We’ll prioritize equipping the Ready Sand Soldiers that we need to attack with, setting up an aggressive attack to conquer a battlefield, and possibly kill the opposing player’s units. We can also use Arise! to strengthen our presence on a certain battlefield, playing more Sand Soldiers on it, and making it even harder for the opponent to break through.
Might Buff Spells
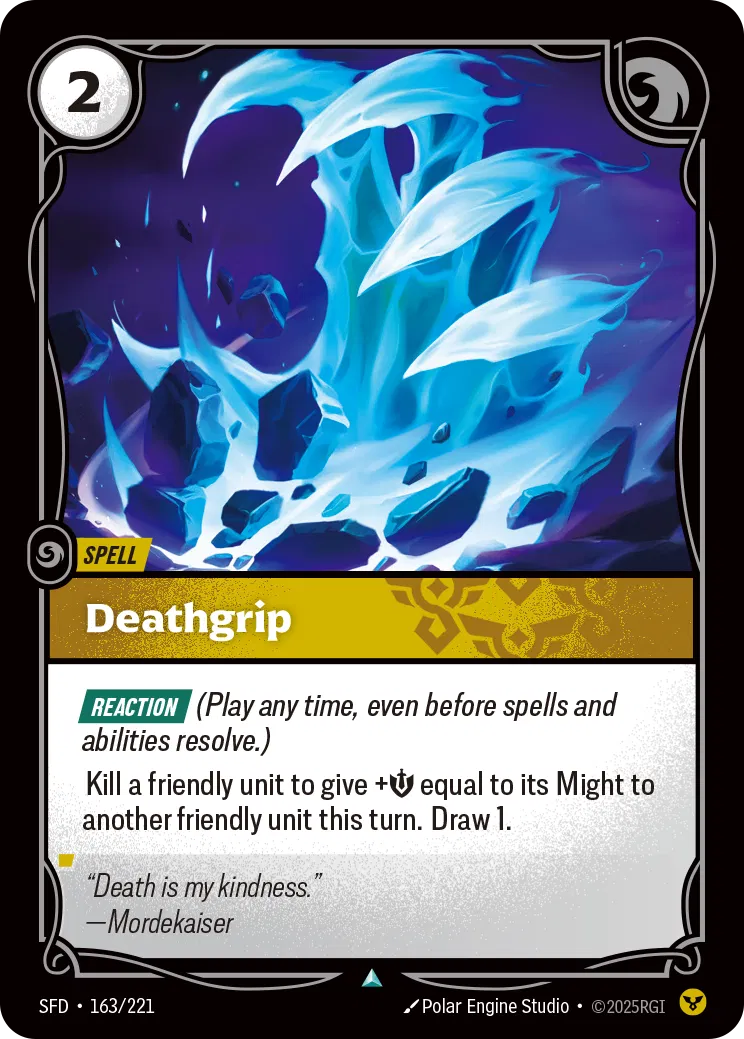
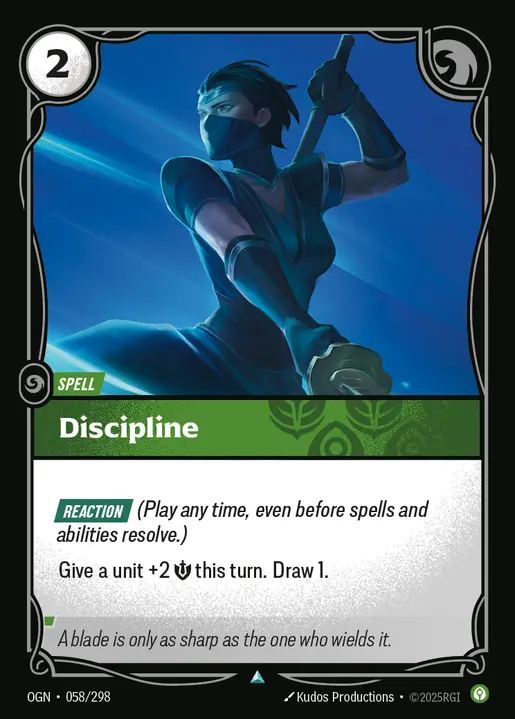
Discipline is perfect for a +2 Might and a card draw. It can help us win a combat or keep a unit from getting killed by a damage spell. As for Deathgrip, we have to kill one of our units to give its Might to another unit, and we also get a draw. The higher the Might on the unit getting killed, the harder it is for the opponent to win a combat, so we can kill a unit equipped with a weapon to get the additional Might value.
Control Spells
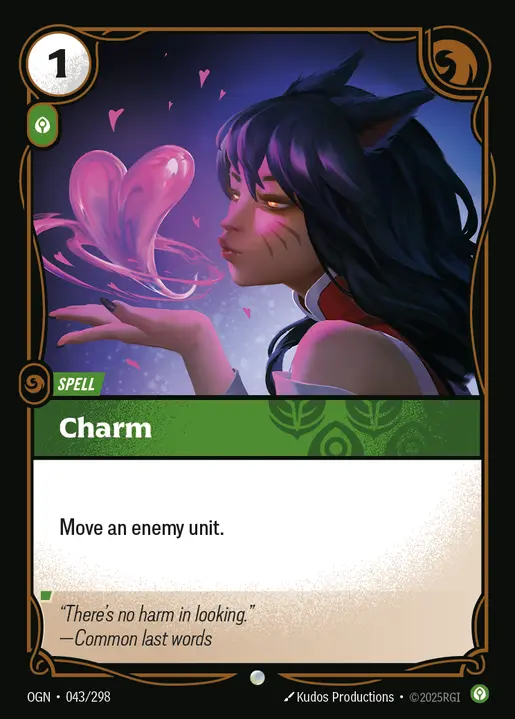
Charm can be used to move an opponent’s unit to a battlefield or base, depending on what we’re trying to do. If we’re trying to kill a certain unit, we can move it to a battlefield and force a combat, and in most cases, we’ll go for this play if we’re certain the opponent cannot protect it. In other cases, we can move a unit off a battlefield, making it harder for them to defend it.
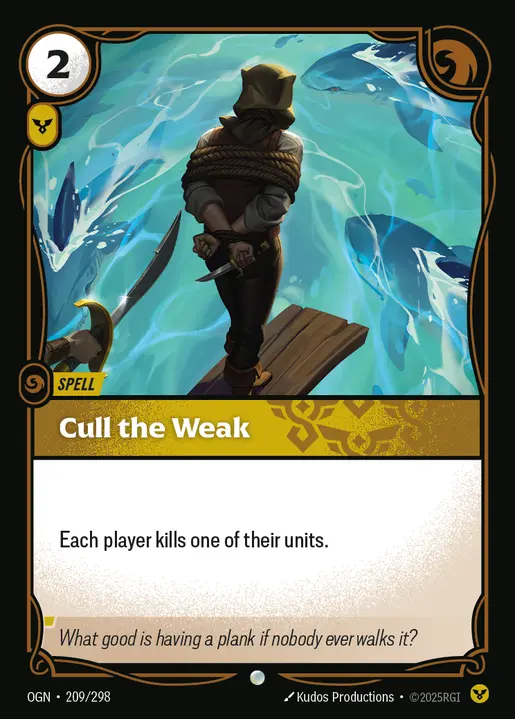
Cull the Weak forces each player to kill one of their units. This is usually best played when the opponent has only valuable units in play, forcing them to remove a win condition and putting them behind on the board. You can go for Cull the Weak before you develop any of your units if your board is empty, or even kill one of your Recruits/Sand Soldiers to get a win condition off the board.
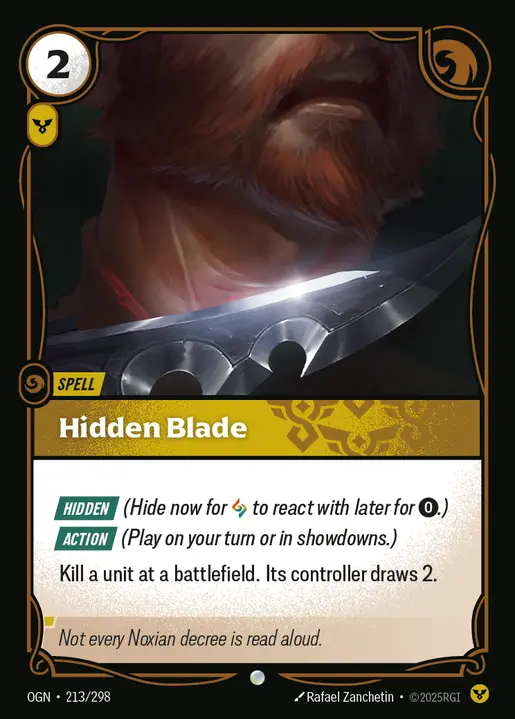
Hidden Blade can kill a unit at a battlefield, but the owner gets to draw 2 cards. So, you can use this to kill an opponent’s unit and put them behind on the board. The downside is that they’ll be gaining more card resources. Or, you can kill one of your units to get 2 draws, which can be valuable in the later stages of the game. Depending on the state of the game, you’ll decide which play is worth going for. If you can keep control of a battlefield and have to remove a win condition, you’ll target the opponent’s unit.
Hidden Blade can be played Hidden at a battlefield, letting us dodge the 2 Energy cost, but limiting it to only one battlefield, which will be the usual route, as we’ll be needing the Energy to make other plays.
Counter Spells
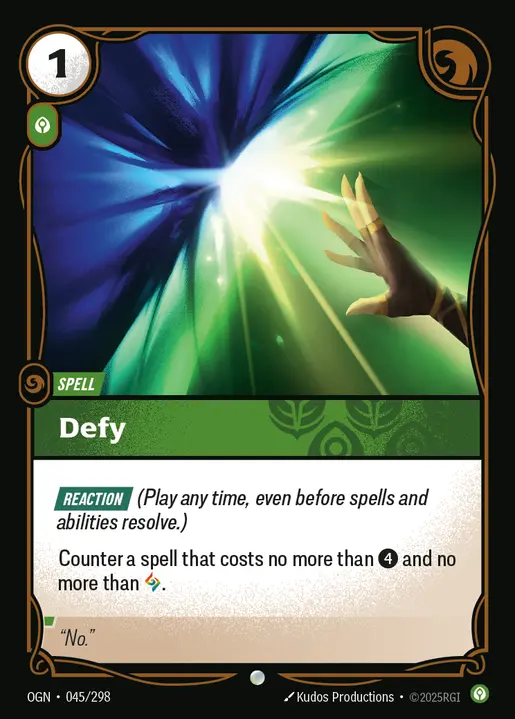
Defy is perfect for countering a 4-cost or less spell with a Power cost of 1 or less. It’s a clean way to protect our key units while also disrupting the opponent’s game plan.
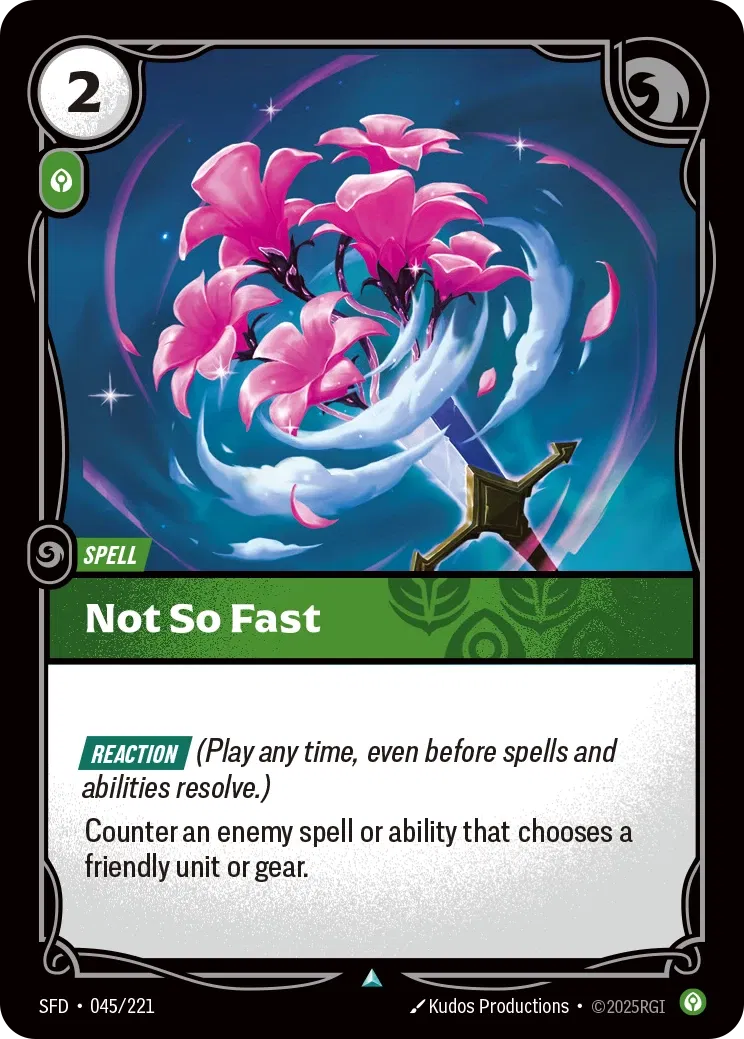
Not So Fast fills a similar role but with different conditions. It doesn’t care about the Energy or Power cost of the spell being played, as long as that spell is targeting one of your units. Additionally, Not So Fast can also counter abilities that target your unit. This makes it especially useful against cards like Beast Below, where you can shut down the effect entirely and keep your unit safe.
Other Cards to Include/Sideboard
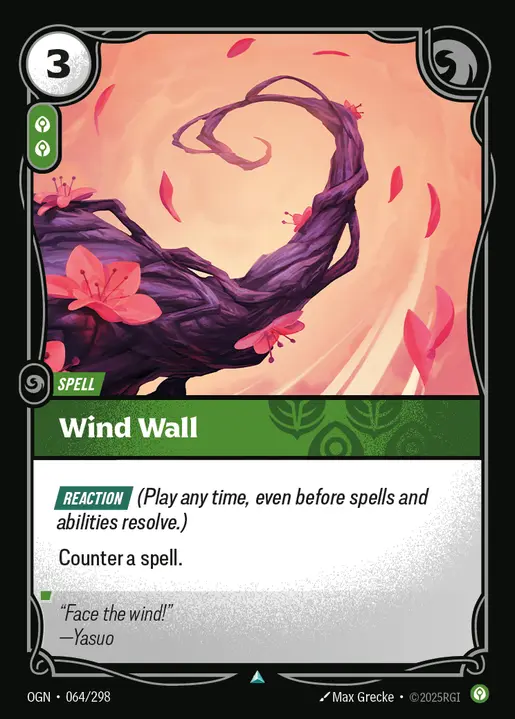
- Wind Wall can counter any spell. It’s a situational card to add to your list on game 2/3, depending on the deck you’re going up against. For example, if you’re up against a Kai’Sa player who runs Time Warp as a win condition, it makes sense to add Wind Wall on your second game.
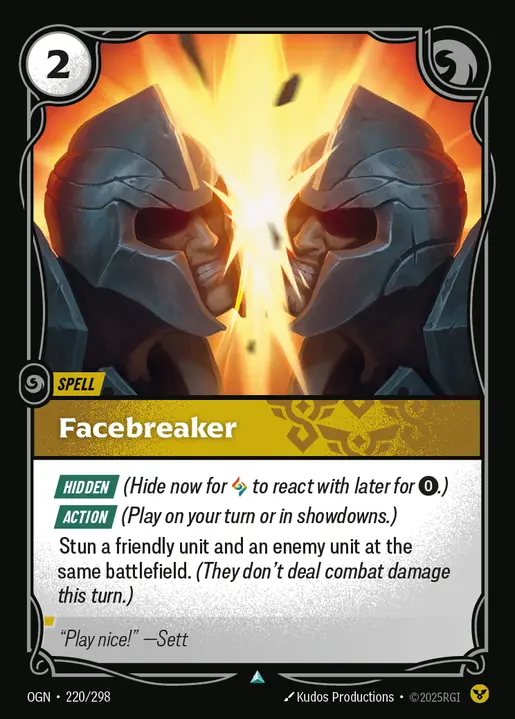
- Facebreaker is perfect for shutting down heavy hitters, stunning them, and preventing them from dealing any damage. We want to usually use this to protect a battlefield, halting the opponent’s attack and forcing an answer out of them.
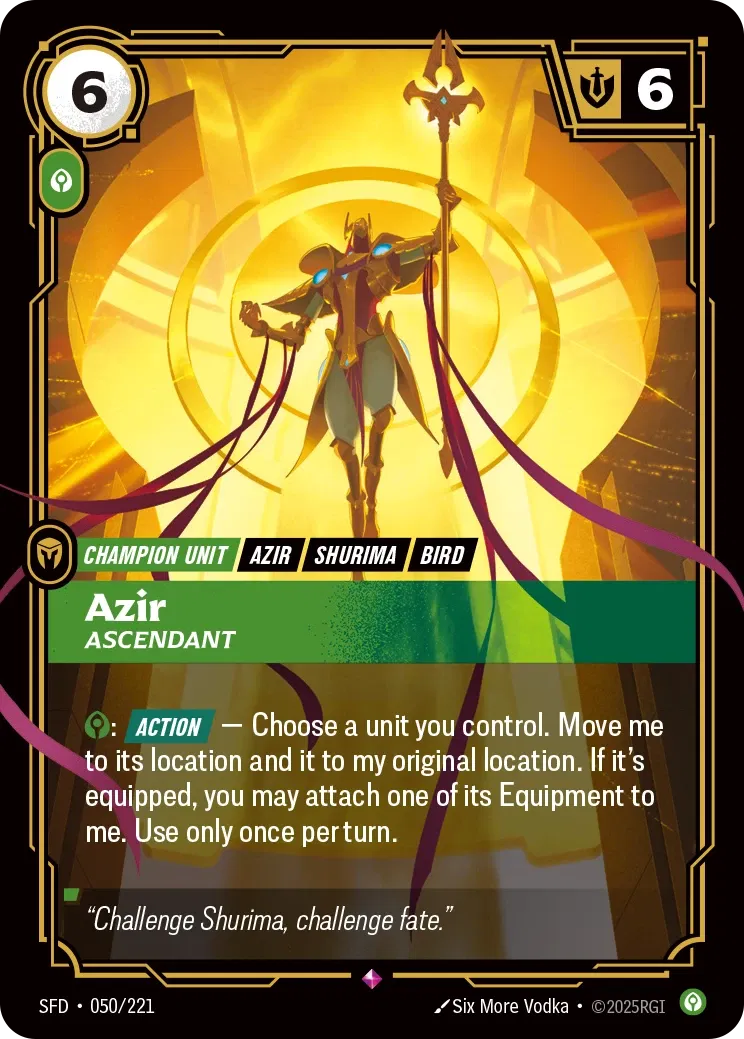
- Azir Ascendant can be pretty annoying for the rest of the game, as you’re able to switch him with another unit you control and equip its weapon to him. You’ll force your opponent to make different plays when going for the attack, as Azir can always join in the battle to switch the combat in your favor.
Closing Words
The Yellow Green Azir deck revolves around playing Equipment and generating Sand Soldiers, using them as your primary win condition before your Champion steps in to command them and set up a decisive battlefield push.
To pilot this deck at its highest level, you’ll need to master your Rune management, sequence your Equipment properly, and get the most value from your Sand Soldiers.