8 Tips to Improve At Riftbound Quickly

Heya everyone! Riftbound has had an incredible launch so far. Even with card allocation not being ideal (even struggling with Rune collection), players are still excited to jump in and compete at their local events. Riftbound is a demanding game with plenty of back-and-forth mechanics, creating a high skill ceiling that naturally attracts competitive players.
We’ve already seen several large tournaments take place, and we’re still in the early stages where players are mainly focused on sharpening their skills and deepening their understanding of the game. Riftbound can be complex, with tons of space to experiment and grow, but there are a few things you can pick up quickly that will help you push your game to the next level.
1 – The Right battlefield

When choosing your three Battlefields, you need to factor in turn order. Some Battlefields are much stronger when you’re going first, while others are more neutral and don’t depend heavily on who starts. Going first usually means you get to play the first unit, which lets you move onto a Battlefield before your opponent can. This gives you an advantage if that Battlefield rewards you for conquering or holding it.
Because of this, you want to avoid picking a Battlefield that could give your opponent a free advantage if they go first. In Game 1, since you don’t know who will start, it’s safer to choose a Battlefield that’s relatively neutral for both players. If you lose Game 1, you get to decide whether you go first or second in Game 2, which opens the door to choosing Battlefields that specifically benefit your chosen turn order.
The matchup also influences which Battlefield you should pick. Take Grove of the God-Willow as an example. It rewards the player who holds it with a card draw, which means whoever moves a unit there first and successfully defends it gains a major resource advantage. If you know you’re going first, Grove of the God-Willow becomes an ideal choice, because you can play a 2-cost unit on turn one, move it on turn 2, and potentially secure the draw.
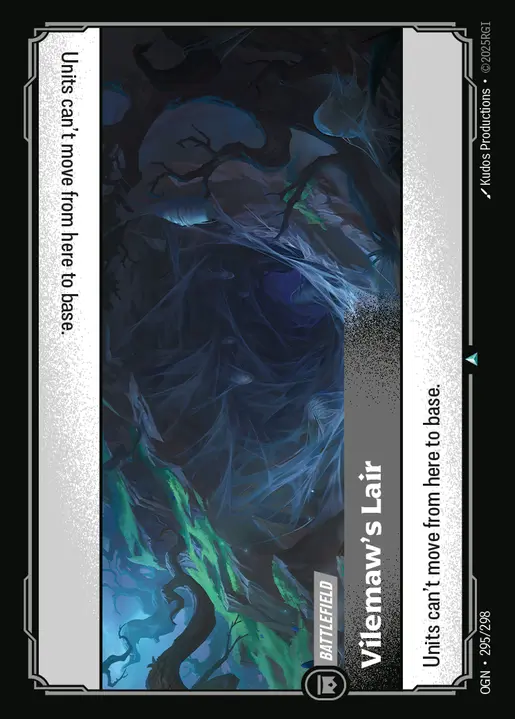
But if you’re unsure about turn order (Game 1), or you know your opponent will be going first, you should choose a Battlefield that doesn’t put you behind. Vilemaw’s Lair, for example, tends to be awkward for most decks. You’re not bothered if your opponent tries to conquer it, because doing so prevents them from moving that unit back to base later in the match.
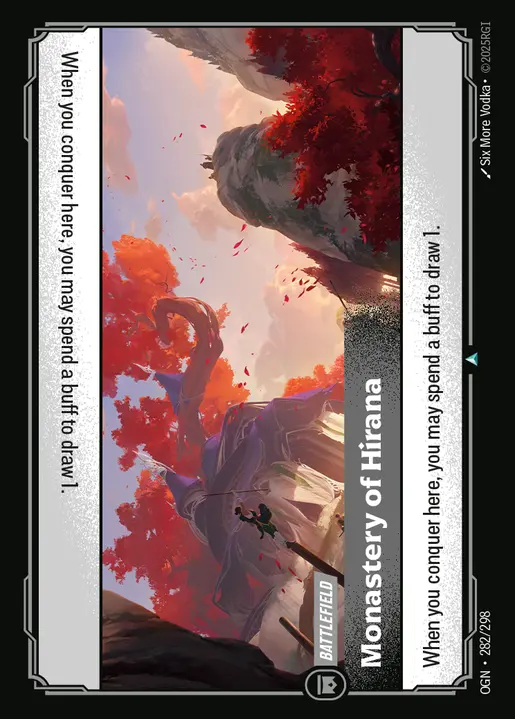
Your opponent’s deck also matters. Consider Monastery of Hirana: it gives value when conquered first, which might seem like a bad pick when going second. But its ability requires spending a Buff to draw a card, and many decks simply don’t generate Buffs at all, making the effect irrelevant to them. If you’re playing Lee Sin into decks like Viktor or Kai’Sa, you can safely choose Monastery of Hirana while going second, since they won’t be able to use the ability anyway.
This is why picking your three Battlefields isn’t just about choosing the “strongest” ones. You want Battlefields that align with the turn order you expect and don’t hand the opponent a huge advantage if they happen to go first.
2 – Banking Energy
Developing units is essential for conquering and holding Battlefields, but in many situations, you don’t want to spend all your Energy on units. When you end your turn with 0 Energy, you’re signaling to your opponent that you can’t make any counterplays. This often gives them the green light to make attacks they normally wouldn’t attempt if you had just 1 or 2 Energy available.
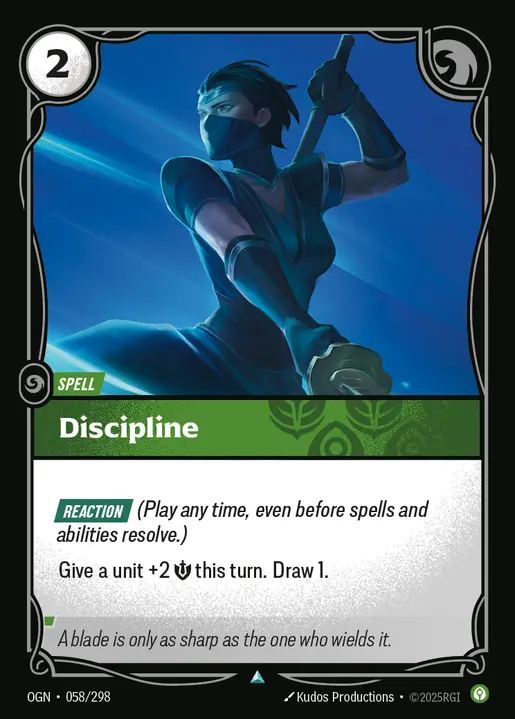
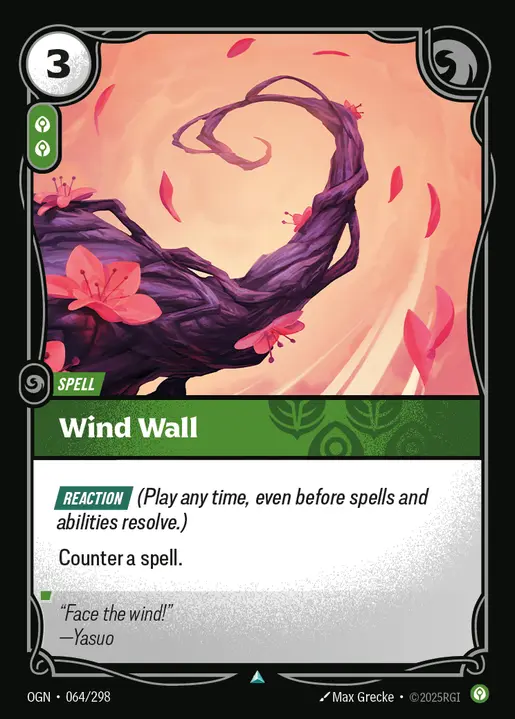
Keeping Active Energy, especially when you’re holding a Battlefield, allows you to threaten cards like Discipline, Defy, or Wind Wall. Even the possibility of these defensive spells can be enough to maintain control of a Battlefield or force your opponent to respect the threat and play more cautiously.
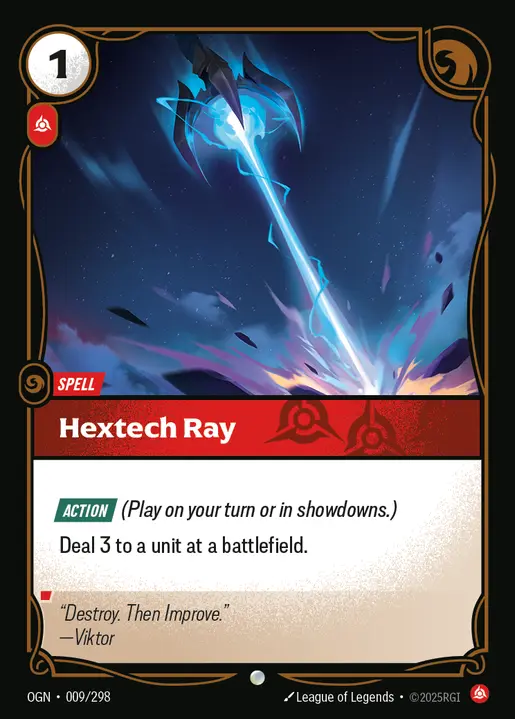
You also don’t always need to play your spells during your own turn. For example, if your opponent is sitting on 2 Active Energy, they can easily counter your Hextech Ray without sacrificing board development. But if you expect them to attack with a unit from base, you can simply bank your 1 Energy and wait. Once that unit moves from base to a Battlefield, a window opens where you can spend your 1 Energy to attempt the 3 damage with Hextech Ray.
This play renders the 2 Active Energy during your turn useless and forces your opponent to exhaust fresh Energy instead. While it technically gives them more room to find an answer because of the extra draw, forcing them to react on your terms can shut down certain plays they would otherwise make. It can also stop them from playing that counterspell altogether, since using their Energy to respond may prevent them from developing a unit they were planning to play.
3- Understand what your opponent is capable of
Knowing what your opponent’s deck can do, how many Runes they have available, and what they’re capable of playing on the next turn goes a long way in shaping your decisions. This is where players can make the biggest leaps in skill, because a single decision on a key turn can completely shift the outcome of the late-game.
If your opponent is holding 2 Active Runes, one unit attacking a Battlefield might not be enough to conquer it. If they can play an Accelerated unit on their next turn, you might need to keep a certain number of Runes Active to protect yourself from their counterplay or develop more units on a certain battlefield to make sure you can hold it.
Understanding your opponent’s overall strategy lets you mentally step into their position: what are they thinking when you make a certain move, what cards can they respond with, and how might they shut down your plan?
4- You do not always have to hold
Holding a Battlefield and developing units directly onto it is one of the primary ways to win games, but it isn’t always the correct approach. This is a more advanced strategy, but when applied properly, it lets you win without handing your units to the opponent on a silver platter.
Imagine you’re at 6 or 7 points while your opponent is at 5. One option is to keep holding a Battlefield, forcing them to find an answer. But another option is to make it even harder for them to have that answer in the first place.
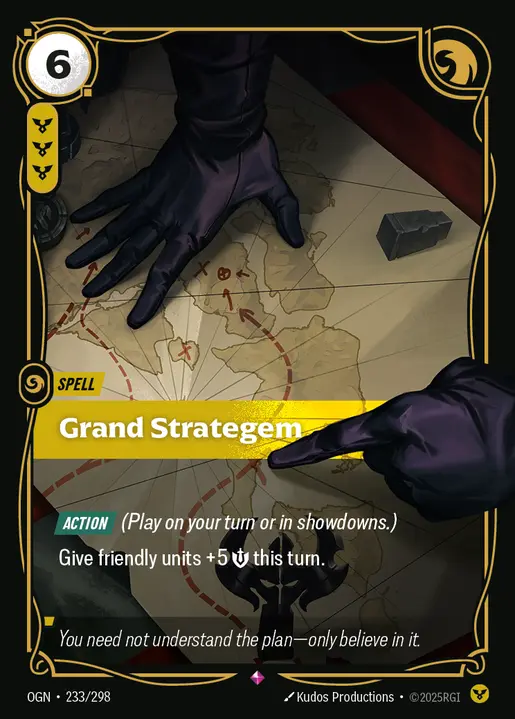
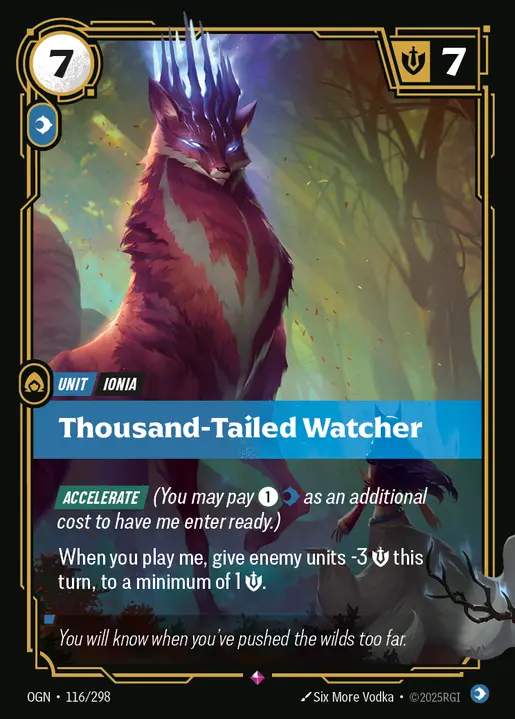
Take Grand Strategem and Thousand-Tailed Watcher as an example. These cards enable extremely aggressive attack turns for the opponent and often leave you behind on the board once they’re played. Holding your Battlefield in that situation demands a heavy resource investment, and in many cases, you still won’t have enough to keep up.
Instead of fighting that uphill battle, you can purposely give up the Battlefield on the previous turn. By pulling your units back to base, you prepare for a stronger finishing turn. Yes, you’re technically giving the opponent free points, but that’s fine as long as those points don’t allow them to close out the game.
This approach lets you draw more resources, have more Energy, and potentially develop an attacker to gain an edge. All of this sets up a powerful final turn where you can aim to conquer both remaining Battlefields, putting the opponent in a position where stopping your win condition becomes much harder.
5- Attack Correctly

Attacking with all your units at a single battlefield might feel like the safest way to conquer a battlefield, but it isn’t always the correct decision.
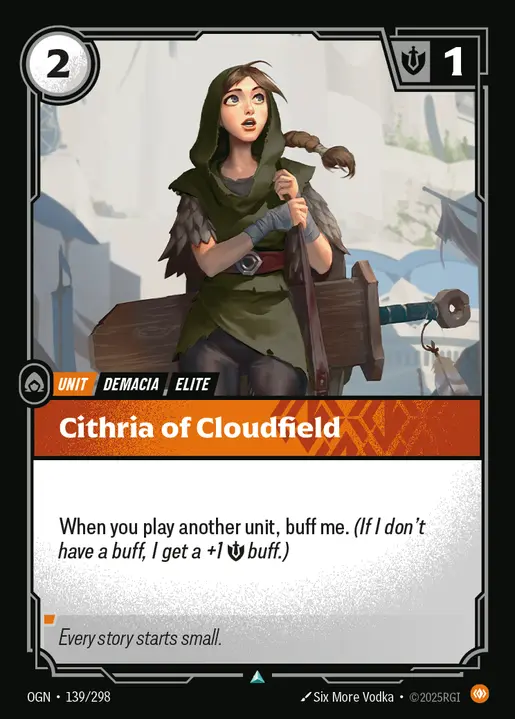
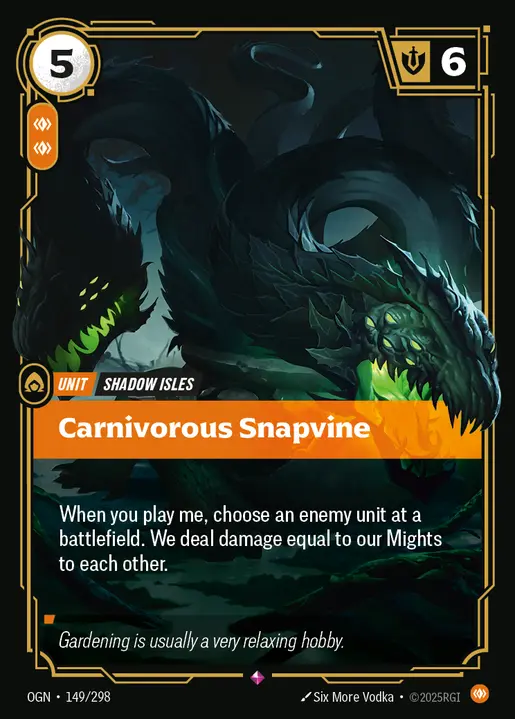
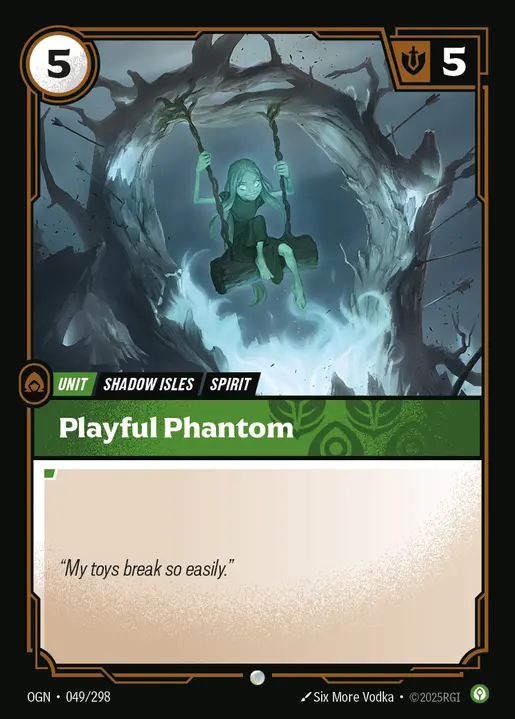
Take Cithria of Cloudfield, Pit Rookie, Carnivorous Snapvine, and Playful Phantom as an example. Suppose your opponent is holding a battlefield with a 5-Might Playful Phantom. You might think attacking with Cithria of Cloudfield, Pit Rookie, and Carnivorous Snapvine is the safest way to guarantee the conquer, but doing so gives your opponent two free kills on Cithria of Cloudfield and Pit Rookie.
A cleaner line is to attack with Carnivorous Snapvine alone. You still get the kill, conquer the battlefield, and then you can move Cithria of Cloudfield and Pit Rookie onto the newly conquered battlefield to help defend it.
This line preserves more resources and denies your opponent a free kill. However, that doesn’t automatically make it the correct play in every scenario. This is where point 3—“Understand what your opponent is capable of”—comes into play.
Knowing what your opponent’s deck can do to stop the conquer, along with how many Runes they have available, is crucial. This information helps you determine whether sending Cithria of Cloudfield and Pit Rookie into the attack is actually the safer and more optimal choice.
6- Be Mindful of Recycling Runes
In Riftbound, many cards have a Power cost to play, which means recycling a specific Rune color. Whenever you recycle, you reduce your total Rune count, so you’ll have fewer Rune resources on the following turn.
Since you gain 2 Runes per turn, you can’t freely recycle in the mid-game without falling behind in the game. Recycling too many Runes can leave you unable to make key plays or develop units you rely on.
Always think one turn ahead. Track what you plan to play next turn, and ask yourself whether recycling 1–2 Runes now will delay or completely block an important play later.
7- Keep Track of Cards
Tracking cards is one of the hardest skills to master, and it’s one of the clearest differences between beginners and high-level players. It’s not just about remembering what was played; it’s about understanding what still exists in the game. You track three things: your own remaining cards, the cards your opponent has played, discarded, or recycled, and just as importantly, the cards that haven’t appeared yet.
In Riftbound, a deck can run up to three copies of any card, but that doesn’t guarantee your opponent is actually playing all three. In open-decklist formats, tracking becomes much easier because you know exactly how many copies each player has. In closed-decklist competitive play, you rely heavily on what you see in game one and game two—especially if your opponent reveals an unusual tech card.
Tracking starts at the mulligan phase. Putting 1 or 2 cards at the bottom of your deck means you’ll likely never get to those cards at all anymore, which means you will be relying on other copies of them.
If you’re running three copies of Challenge and draw one early, you immediately know two are still in your deck. As the game progresses, every draw increases the odds of you finding it. This can be helpful if you have draw cards and you want to dig deeper to find your Challenge, knowing you still have two copies in there that you can draw.
The same logic applies to your opponent. Every card they play, recycle, or discard narrows down their remaining options. And when a card never shows up, that absence is information too: they might be running fewer copies than expected, they might not have drawn it, or they might be holding it for the exact moment it matters most. Understanding these possibilities can be a game-changer when it comes to decision-making.
8- Taking Risks
A new player will often take unnecessary risks; sometimes they pay off, but often they backfire. This usually happens because the player hasn’t fully learned the fundamentals or how different matchups should be approached.
Relying on luck alone usually leads to inconsistent, low-quality play, and you’ll quickly lose games when that luck runs out. A more reliable way to improve is to play cautiously, think ahead, and make decisions that respect what both players’ cards can do.
That said, avoiding risk altogether isn’t the goal. With experience, you’ll get better at recognizing when a calculated risk is not only justified, but required. In situations where the game is otherwise unwinnable, taking a risk and giving yourself a chance is always better than playing safely toward a guaranteed loss.
Closing Words
Although Riftbound may look simple at first, the game contains a lot of depth, and understanding how complex its decisions can be will greatly improve your gameplay. Over time, this increased understanding will translate into more wins. You might not notice the difference immediately, but the more you play, the more you’ll see how applying these principles consistently increases your odds of beating your opponents.