Fury Mind Kai’Sa Daughter of the Void Deck Guide

Fury Mind Kai'Sa is one of the strongest decks to play in the Riftbound card game! Learn how to play the deck with out guide.

The Fury Mind Kai'Sa Daughter of the Void deck has been one of the top performers in Riftbound competitive tournaments. This deck uses its damage cards to keep control of the field while having aggressive plays to score points and get ahead of the opposing player.
We’ve seen a lot of control decks in Riftbound, but this one mainly runs low-cost spells for control while maintaining strong board development to go for the aggressive attacks.
In this guide, we’ll learn how Legend Kai'Sa Daughter of the Void works alongside her champion, the different strong plays this deck makes, and how cards synergize with one another under one strategy.
Legend

You can tap Red Blue Kai'Sa Daughter of the Void to add 1 Power rune, which can be used for your spells only, regardless of the color cost of that Power. This allows us to play spells with a Power cost without deramping and falling behind on the upcoming turn. Kai’Sa Daughter of the Void’s ability is Reaction, which means we get to activate it whenever we want, even during the opponent’s turn.
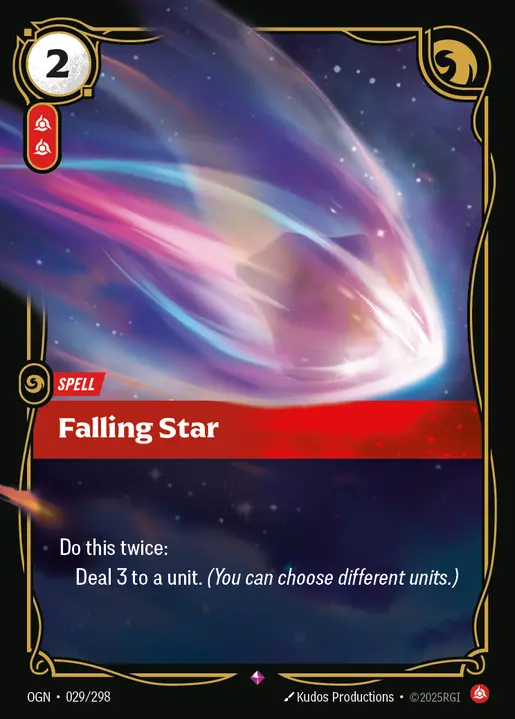
That said, with Kai’Sa’s ability, we want to include more spells like Falling Star with a Power cost to get the most out of her, controlling the board without worrying too much about the drawback.
Decklist
Kai'Sa, Daughter of the Void
1
0
 Fury Rune
7
0
Fury Rune
7
0
 Mind Rune
5
0
Mind Rune
5
0
 The Dreaming Tree
1
0
The Dreaming Tree
1
0
 Void Gate
1
0
Void Gate
1
0
 Zaun Warrens
1
0
Zaun Warrens
1
0
 Cleave
3
1
Cleave
3
1
 Hextech Ray
3
Hextech Ray
3
 1
1
 Retreat
3
1
Retreat
3
1
 Stupefy
3
1
Stupefy
3
1
 Falling Star
3
2
Falling Star
3
2
 Pouty Poro
2
2
Pouty Poro
2
2
 Ravenbloom Student
3
2
Ravenbloom Student
3
2
 Watchful Sentry
3
2
Watchful Sentry
3
2
 Lecturing Yordle
2
3
Lecturing Yordle
2
3
 Void Seeker
2
3
Void Seeker
2
3
 Kai'Sa, Survivor
2
4
Kai'Sa, Survivor
2
4
 Noxus Hopeful
2
4
Noxus Hopeful
2
4
 Darius, Trifarian
3
5
Darius, Trifarian
3
5
 Icathian Rain
2
Icathian Rain
2
 7
7
 Thousand-Tailed Watcher
3
Thousand-Tailed Watcher
3
 7
7
 Time Warp
1
10
Time Warp
1
10
How to Play Red Blue Kai’Sa
This deck heavily relies on damage spells like Hextech Ray, Falling Star, and Void Seeker to keep control of the board, weakening the opponent’s side and making it harder for them to conquer a battlefield. This allows units like Kai'Sa Survivor to keep control of the battlefield, scoring you points and eventually lining up the winning turn.
Champion
Kai'Sa Survivor is one of your strongest aggressors. She’s a 4-cost Champion unit with 4 Might, capable of drawing you a card if she conquers a battlefield. This means we prioritize attacking and conquering a battlefield with her for that additional card draw, giving us the resources we need for a stronger late game.
You can pay 5 Energy and 1 Fury Power to play Kai'Sa Survivor with Accelerate, allowing us to attack with her on the turn she’s played. This is perfect for an aggressive turn that makes it harder for the opposing player to have a counterplay to answer your attack.
Since Kai’Sa is drawing us a card whenever she conquers, we often will return her to base once we hold a Battlefield, so we can later attack with her and trigger her conquer ability a second time. Retreat can be a massive play in the early game if our opponent tries to kill Kai’Sa, bringing her back to hand and channeling 1 exhausted rune, setting up for a stronger upcoming turn.
Battlefields
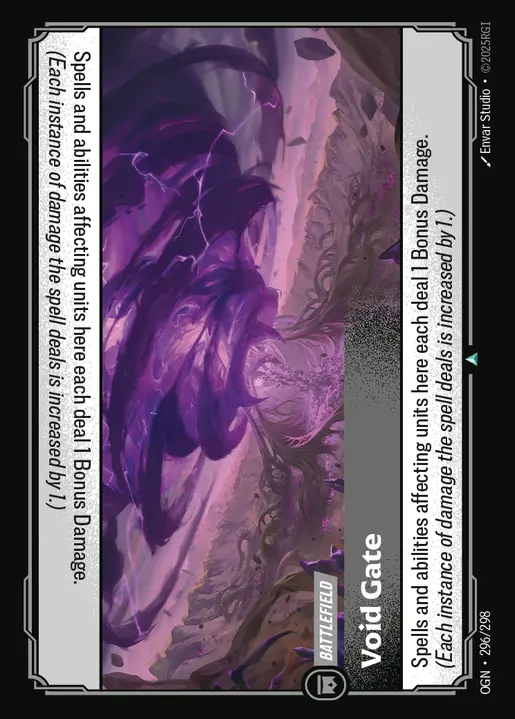
Void Gate synergizes perfectly with what our deck is trying to do, boosting the damage out of our spells by 1, making it harder for the opposing player to gain control of this battlefield.
Another great battlefield for our deck is Dreaming Tree, which lets us gain more value from cards like Retreat, Stupefy, and Cleave. We want to move a unit to the Dreaming Tree, and if we target a friendly unit with a spell, we get to draw a card. For example, playing a card like Stupefy on our unit might seem counterintuitive at first, but we’re basically spending 1 Energy to draw 2 cards, which can be a huge resource value for us.
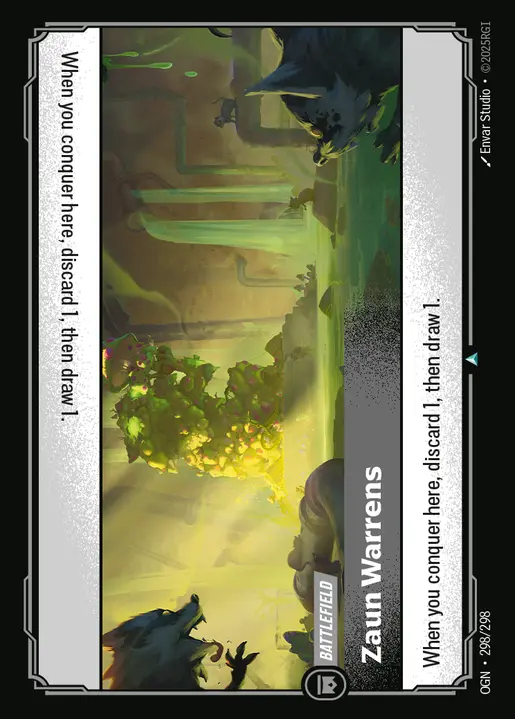
Zaun Warrens lets us discard a card to draw another one, which can fix our hand and help us find the cards we need. We have multiple low-cost cards that might not be as strong in the mid to late game, so fishing for better cards from our deck can be worth it.
Other battlefields, like Reaver’s Row, can save a unit from getting killed if we can’t defend a battlefield. This is usually good for Kai'Sa Survivor, preventing our opponent from killing her and allowing us to attack and activate her conquer effect on the upcoming turn.
Grove of the God-Willow is also great if we’re going first, as we want to conquer and hold it early in the game to gain the draw advantage.
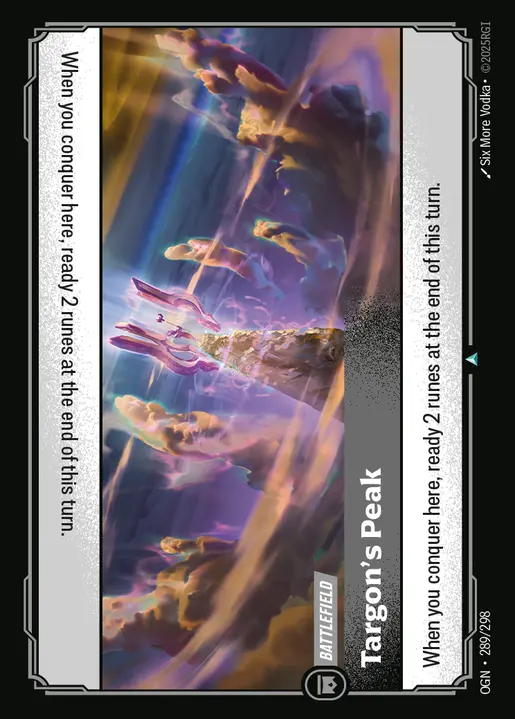
Targon’s Peak, letting us Ready 2 Runes at the end of our turn if we conquer it. This allows us to make more plays during our turn and still have the Runes to play spells during the opponent’s turn to defend a battlefield.
Early Units
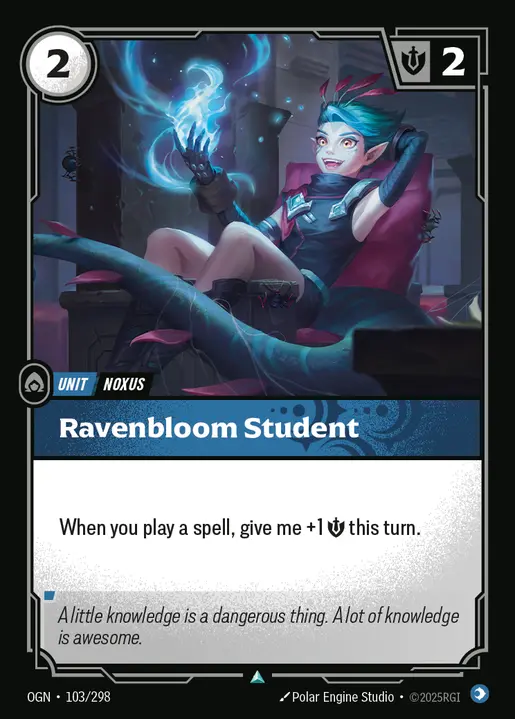
Ravenbloom Student works perfectly in this list as he’ll gain +1 Might for each spell you play for the turn. The Might boost he gains can allow us to win fights and even keep Ravenbloom Student in play for more turns. Whenever you have Energy ready during your defensive turns, your opponent will have to keep Ravenbloom Student‘s Might boost into consideration whenever they start an attack.
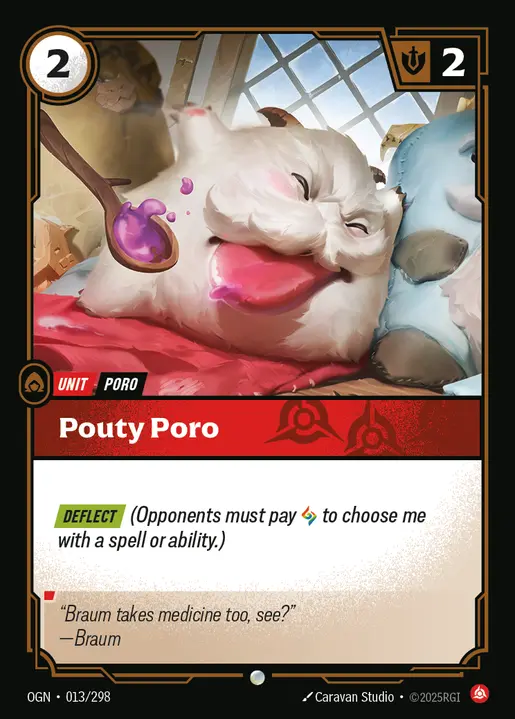
Although Pouty Poro isn’t as scary as Ravenbloom Student, it’s still a pesky unit to play in the early stages of the game. We’re developing a 2 Might unit with the Deflect keyword, meaning opponents will have to think twice before targeting it with a spell or an ability, as they’ll be forced to recycle a rune. We can back up Pouty Poro with cards like Cleave, Stupefy, or one of our damage spells to try and get a trade on a higher Might unit or win a fight.
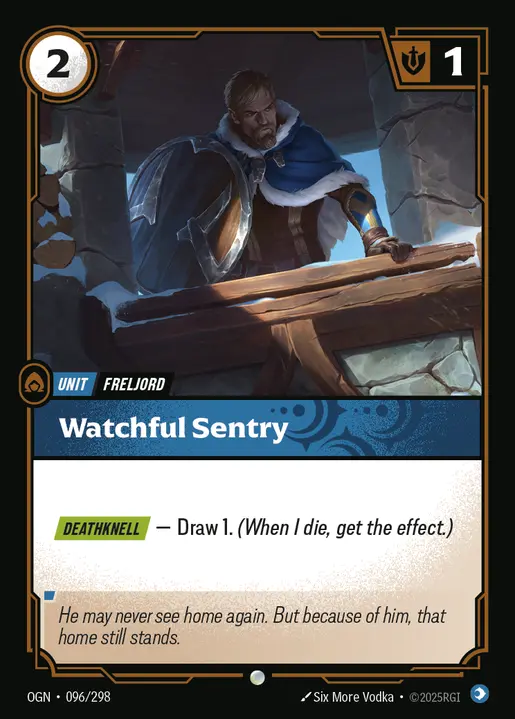
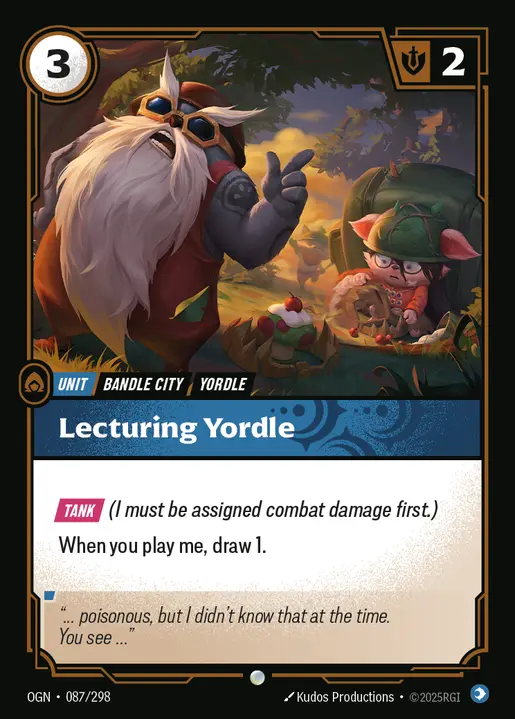
Watchful Sentry and Lecturing Yordle both can draw you a card. Watchful Sentry has to be killed to get the card draw, so he can be a bit slow for the value you need, but Lecturing Yordle will draw you a card immediately.
They have low Might, so they’re not presenting much offensive pressure. However, if you’re trying to conquer or defend a battlefield, they can help with the added Might, or you can combo them with your Cleave to turn them into a threat when attacking.
Combat Tricks
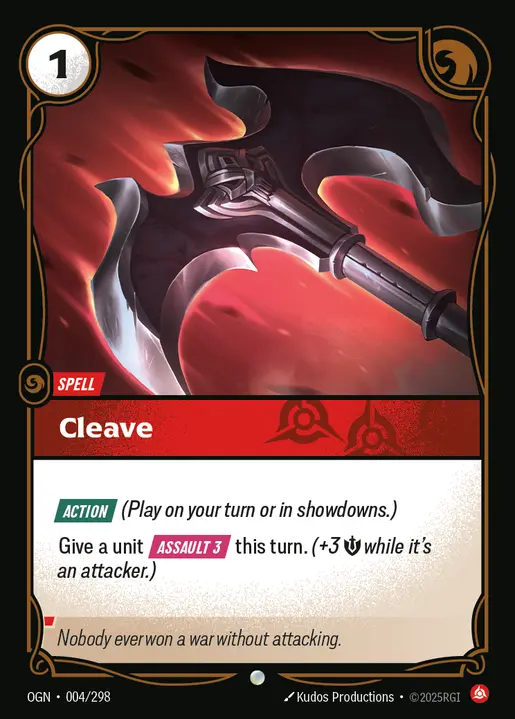
Cleave is perfect to turn low Might units into a threat with the Assault 3 it gives. It can also be used on your higher Might units like Kai'Sa Survivor to keep them from getting killed when they go for the attack.
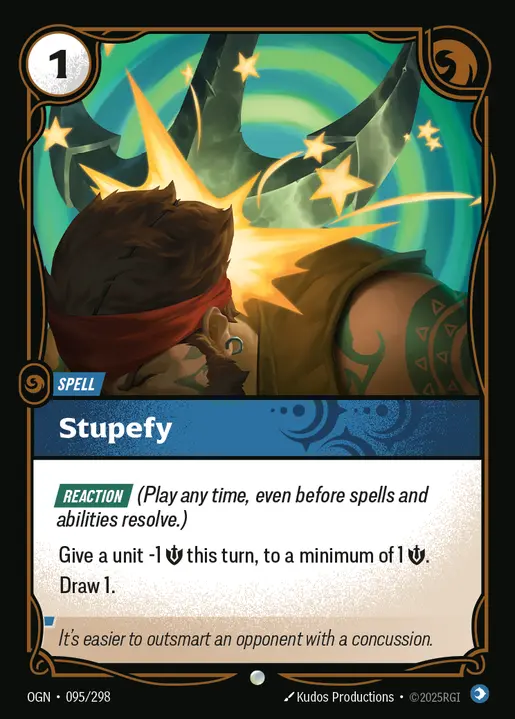
Stupefy can reduce the Might of one of the opponent’s units, making it easier for us to kill it or even rendering it useless offensively. Stupefy only reduces the Might of a unit by 1, but it also draws you a card, so you’re not losing resources.
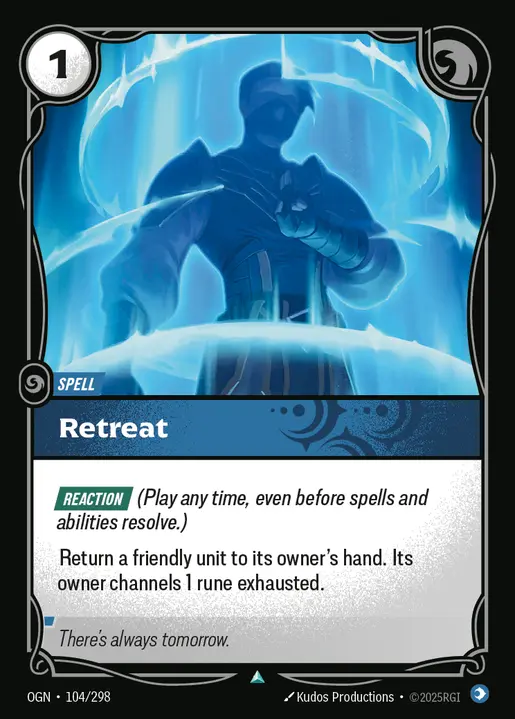
Retreat is especially useful in the early to mid-game, saving one of our units from getting killed, but also channeling an exhausted Rune in the process. This helps speed up our game plan, allowing us to make stronger plays on our upcoming turns.
Damage Spells
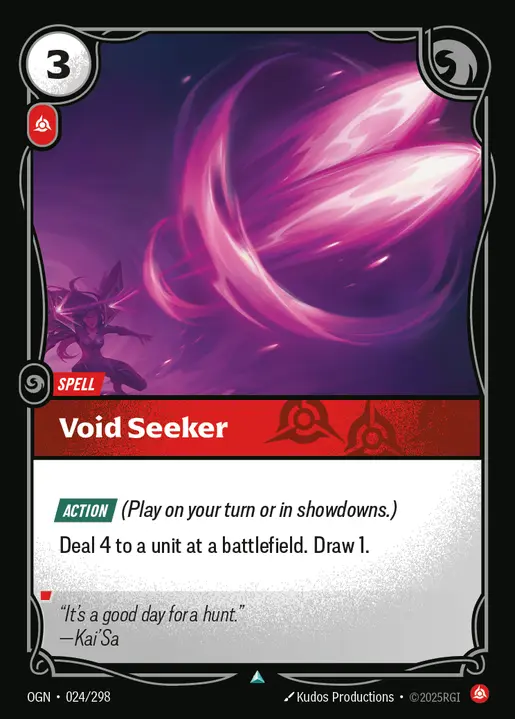
We have multiple damage spells that help us kill an opponent’s units or damage them enough for our attacker/defender to finish them off. Hextech Ray and Void Seeker are Action damage spells, which means we can use them during the opponent’s turn if they go for the attack or give us another window to use them (play a spell or target ability).
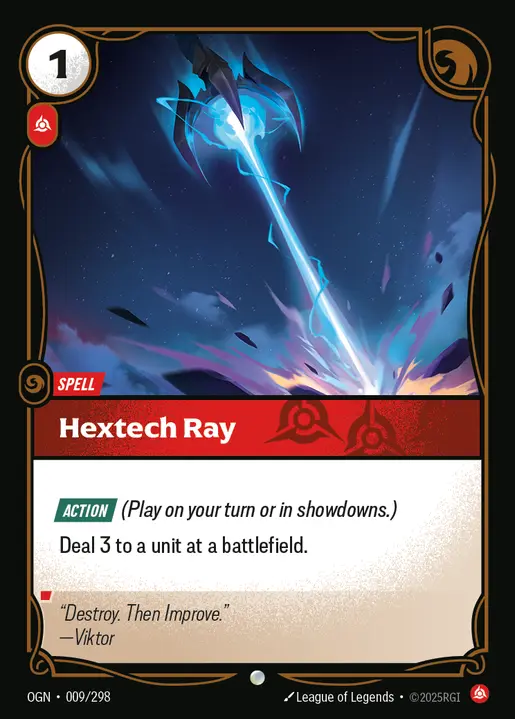
All of these spells have a Power cost, so using our Legend’s ability will lower the drawback of playing them. Hextech Ray is a low-cost spell that deals 3 damage, perfect for clearing a low Might unit or making sure a unit dies in a showdown. As for Void Seeker, it deals 4 to a unit, and you get to draw a card, so you’re not losing resources. Keep in mind that Hextech Ray and Void Seeker can only be used on units that are on a battlefield, so you can’t target units that are in the base.
As for Falling Star, it can only be played during your turn, to deal 3 damage twice. You can use it to target two units, regardless of whether they’re on the battlefield or in the base, or you can use it on the same unit to deal a total of 6 damage to it.
Icathian Rain is our strongest control card in the deck, possibly capable of wiping the opponent’s board. You’re dealing 2 damage, 6 times! This means we get to pick our targets however we want, and we can pick the same target multiple times. 12 damage in total can be enough to kill most, if not all the opponent’s board, setting them back and making it harder for them to come back in the game.
Aggressors
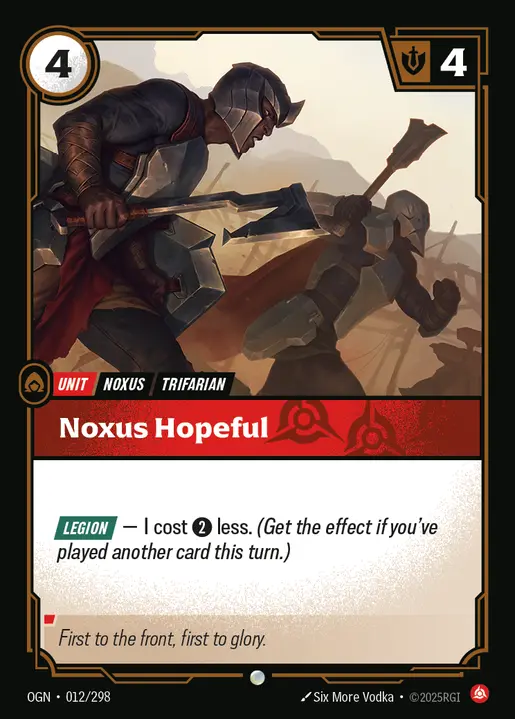
Noxus Hopeful is a 4-cost unit with 4 Might; however, if we activate his Legion keyword, we get to play him for 2 Energy only. Developing a 2 Energy, 4 Might unit in the early to mid-game can be a huge battlefield pressure swing, putting a strong unit in play, capable of attacking and holding a battlefield. We have a lot of low-cost cards in the deck to easily trigger his Legion keyword.
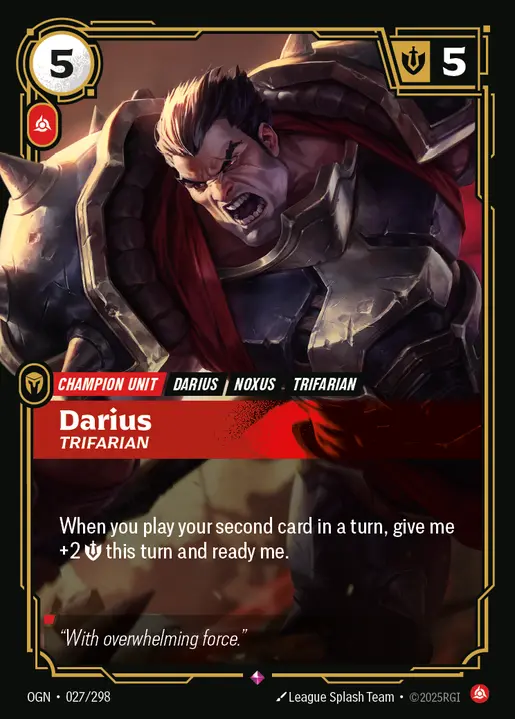
Darius shines the most when you play a second card alongside him. He’s a 5-cost 5 Might unit that can set himself as Ready and gain a +2 Might boost when you play your second card in a turn. So on the turn he’s played, if you’ve played a second card along with him, he can go for an immediate attack with his 7 Might to conquer a battlefield.
You can continue taking advantage of this ability on future turns, returning him to base before playing two cards to set him Ready and go for an attack on another battlefield. Also, keep in mind that Darius Trifarian will lose his +2 Might boost when you end your turn, but if you play two cards during the opponent’s turn, he’ll regain the Might boost, which can come in handy when you’re defending or trying to survive a damage spell.
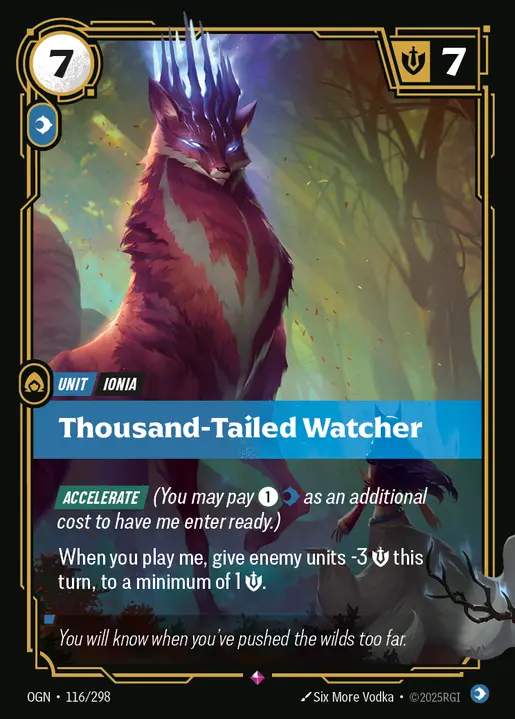
Thousand-Tailed Watcher is your strongest aggressor in the deck, but it might require a couple of steps to get the most out of it. It’s a 7-cost 7 Might that reduces the Might of all of the opponent’s units by 3. You can pay an additional 1 Energy and 1 Mind Power to have Thousand-Tailed Watcher enter Ready, capable of going for the immediate attack to kill weakened units and conquer a battlefield.
The Might reduction sticks until the end of your turn, so if you have other units capable of attacking, you can take advantage of that to win a second battlefield. Watcher is a massive game-winning play, especially if you’re trying to conquer two battlefields to close out the game.
Alternate Win Condition
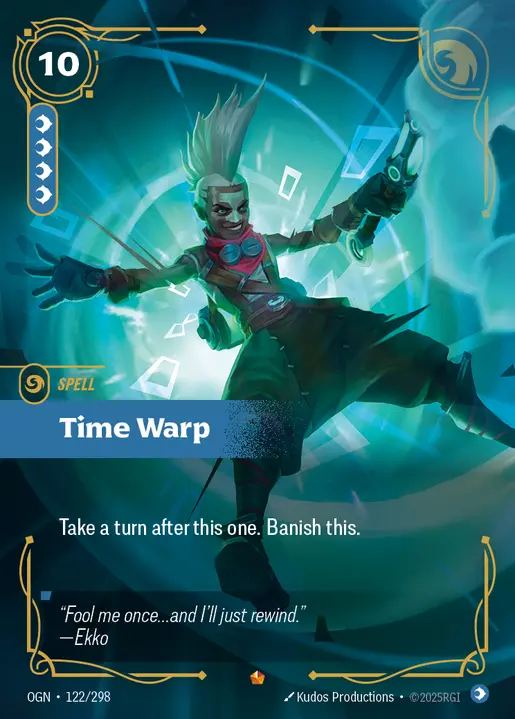
Time Warp is another way of winning the game, especially if we need to steal the win quickly. For 10 Energy and 4 Mind Power, we can take a turn after this one. This means we start a fresh new turn, gaining a point if we’re holding a battlefield, drawing a card from the main deck, and adding 2 Runes.
Time Warp is usually a game-winning play when we’re at 6 or 7 points. Let’s assume we’re at 6 Points and we move in to conquer a battlefield, we go up to 7 Points, but we can’t conquer the second one to win the game. This is where Time Warp can win us the game. By playing it, we can end our turn and start a new one, gaining our 8th point for holding the battlefield we just conquered. This locks the opponent out of a counterplay, as they won’t get a turn to attack and kill our units holding a battlefield.
Cards that deny Time Warp can be a massive shutdown, so calm domain decks can be problematic if they’re holding onto a card like Wind Wall. However, if they don’t have a deny spell, they don’t have much of an answer to do and will watch you take your upcoming turn to automatically win the game.
You can also technically win the game at exactly 6 Points if you’re holding both battlefields and go for the Time Warp play. Holding both battlefields will score you two points to get to 8!
Time Warp is a massive counter for slower type decks like ramp decks, as they need time in the early game to set up their late-game strategy, which you’ll deny them from getting, thanks to Time Warp. Usually, you want to run 1 or 2 copies of Time Warp, depending on the meta and your locals. If there are a lot of slower-paced decks, you can add more copies to ensure you can get the game finisher card.
General Tips
- We’re relying on Energy to keep control of the board. This means we will need to bank Energy for our defensive turns to use Combat Tricks or damage spells to prevent opponents from conquering a battlefield.
- A couple of our spells have a high Power cost, so we’d rather not slam too many of them early into the game, so we don’t fall behind on future turns.
- Watch out for the Deflect keyword. Targeting it will force you to pay a Power cost, which can be taxing, especially if done multiple times throughout the game.
Mulligan Tips
Ravenbloom Student, Hextech Ray, and Lecturing Yordle are strong early options to develop your board and maintain control of the opponent’s side. We’re usually looking for a turn 1 play to get an aggressive start, and then we’re relying on Kai’Sa and Darius. Retreat is a great keep in the starter hand as we want to have access to the extra rune, while saving a unit.
You’ll also want to have cards like Darius Trifarian for the strong mid-game attacks.
Against slow decks where you know you need Time Warp, you can keep it in your hand to make sure you have your win condition ready when needed.
Other Cards to Include – Sideboard
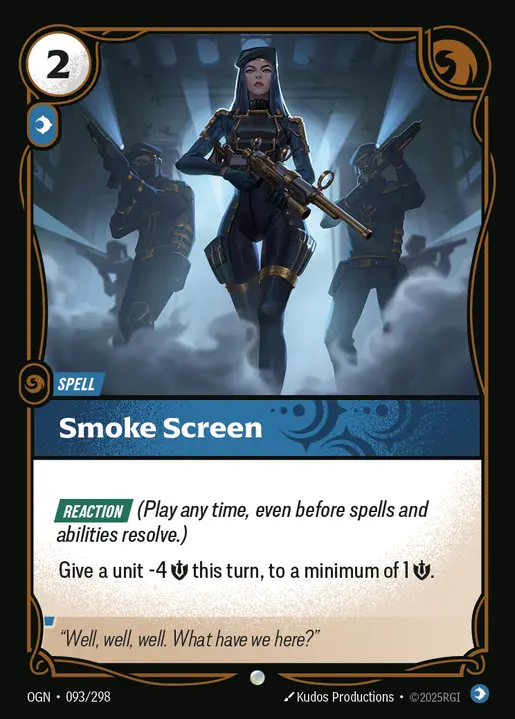
- Smoke Screen reduces the Might of an opponent’s unit by 4, rendering it completely useless in most cases and allowing you to either conquer a battlefield or defend it.
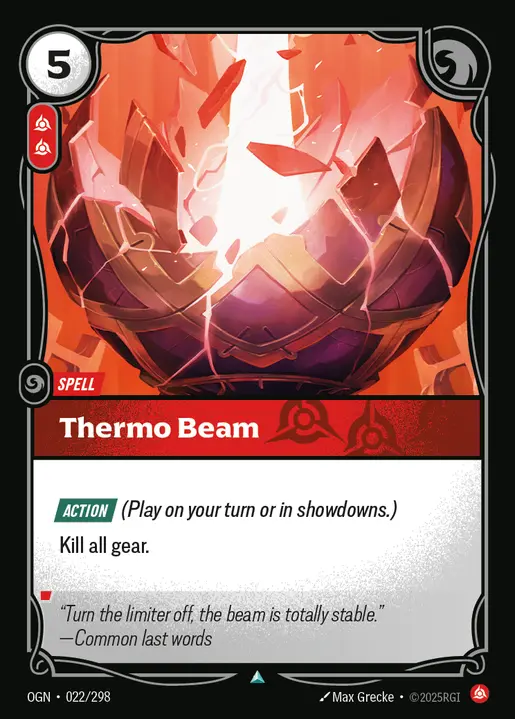
- Thermo Beam is a tech card for decks that heavily rely on Gears as part of their strategy.
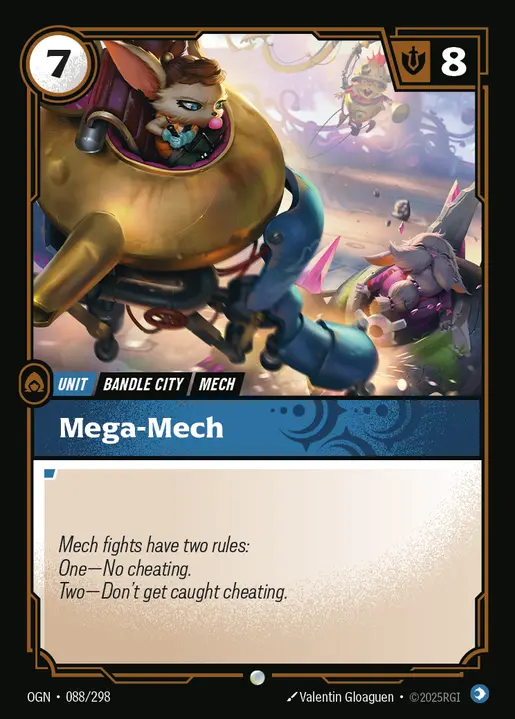
- Mega-Mech is a tank to help you hold a battlefield. It doesn’t recycle any of your runes, so it won’t slow down your upcoming turn.
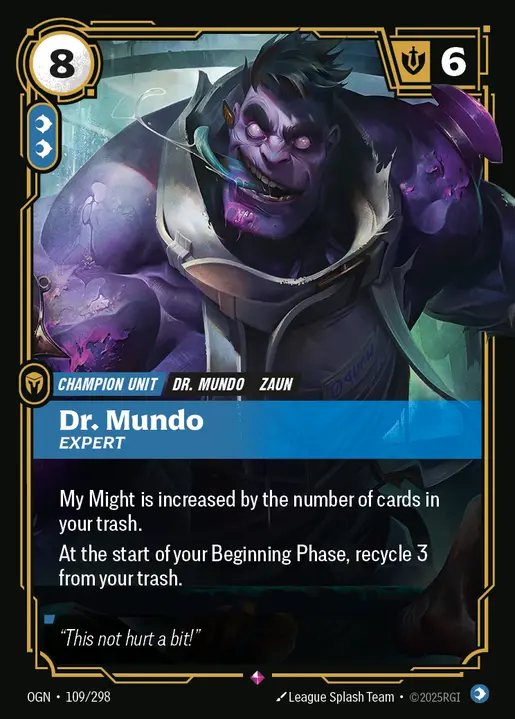
- Dr. Mundo is a late-game win condition, best added to the list to create a high Might unit against decks with no real answer to him (kill abilities). The more cards are in your discard, the stronger Dr. Mundo becomes.
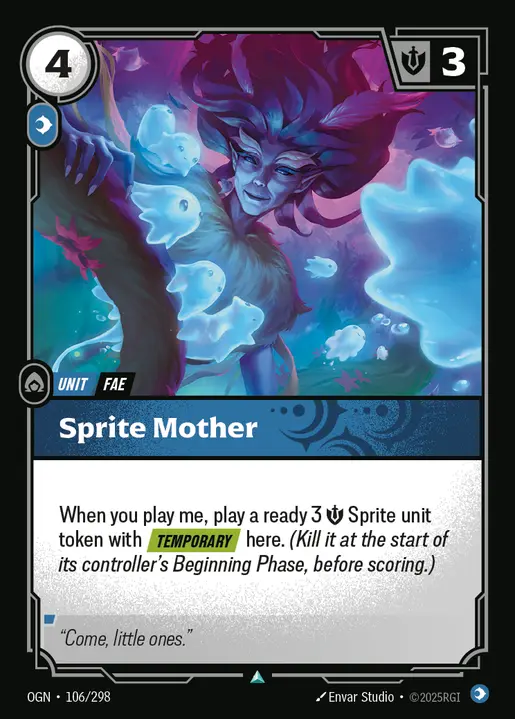
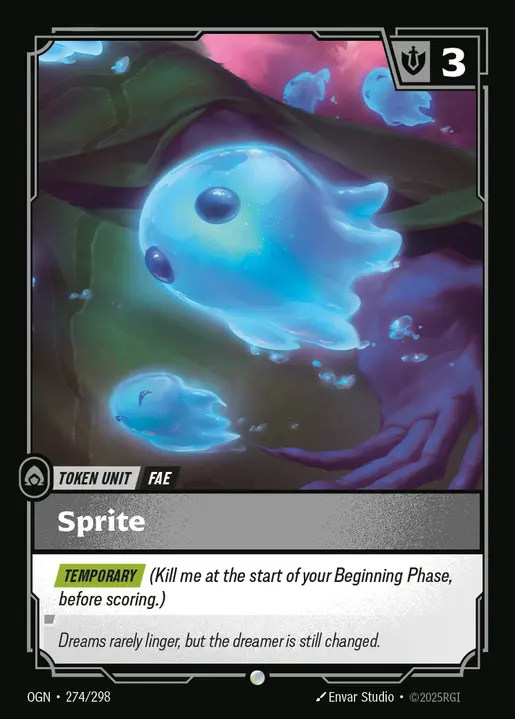
- Sprite Mother lets you play a Ready Temperoray 3 Might Sprite, capable of attacking on the turn it’s played to conquer a battlefield. The goal is to use the Sprite aggressively and try to kill a unit and score a point. However, at the start of your Beginning Phase, you have to kill the Sprite, and you won’t gain a point for holding. Regardless, it will exist on the battlefield during your opponent’s turn, so either they’re forced to kill it to score a poin,t or they’ll have to ignore that battlefield, leaving it open for you to conquer again.
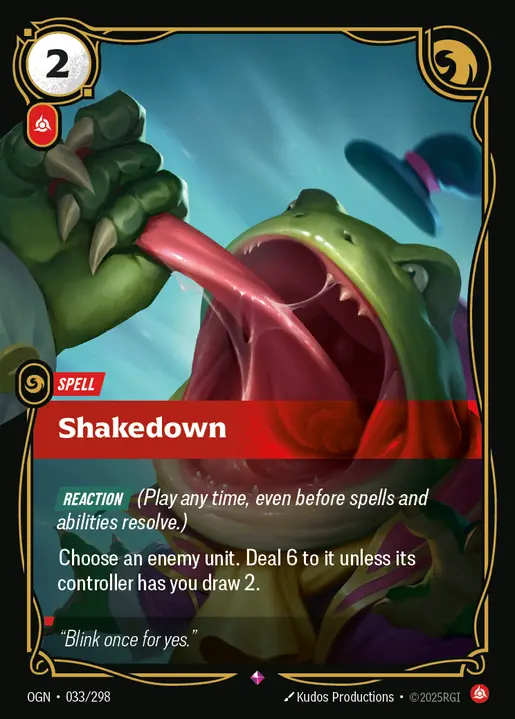
- Shakedown is one of the strongest spells when it comes to the damage output, paying 2 Energy to deal 6 damage to the opponent’s unit, regardless of where it is on the board. However, your opponent can choose to dodge the damage and instead have you draw 2 cards. So, it’s not a reliable removal option as your opponent will most likely have you draw the 2 cards instead of the damage going through. You’re still adding resources to your hand, but not controlling the board for the turn.
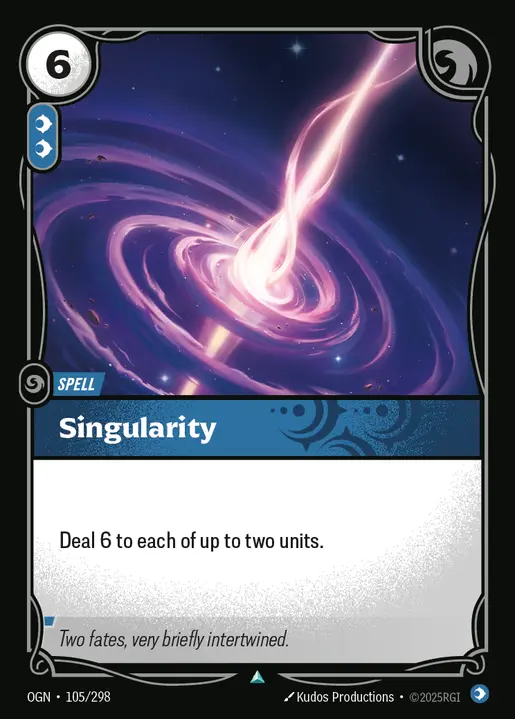
- Singularity is a high-cost damage spell that deals 6 damage to two of the opponent’s units, perfect for removing two threats on the board.
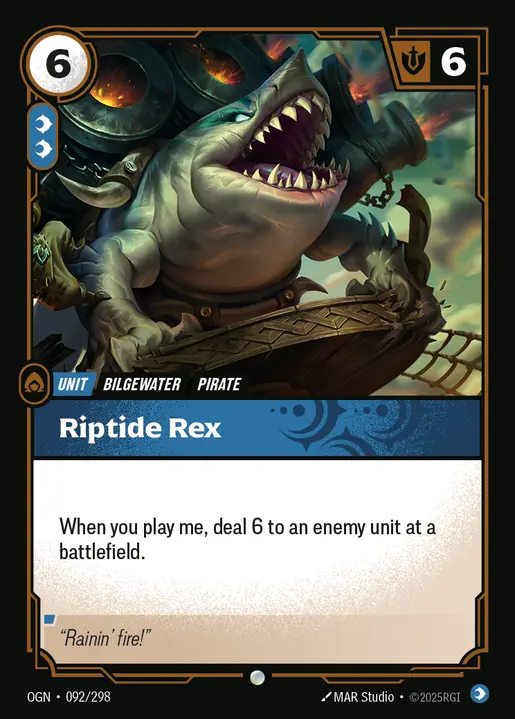
- Riptide Rex is an expensive play as you’re paying 2 Mind Power for it, letting you deal 6 damage to one of the opponent’s units on a battlefield. You can potentially kill a threat on a battlefield and have one of your other units attack and conquer a battlefield.
Closing Words
Red Blue Kai’Sa is one of the strongest decks in the Origins Riftbound meta, capable of controlling the board with its damage spells, playing aggressively to pressure opponents, and stealing wins with Watcher and Time Warp.
If you’re a fan of playing low-cost spells to keep getting kills and making it harder for the opposing player to establish a board, Kai’Sa is the deck to play!